

What is UI Flow?
Microsoft has released a new feature called UI flows. This is an extremely useful and practical feature as it allows a flow to operate old legacy applications that are still being used. UI flow basically provides Power Automate with Robotic Process Automation which allows users to automate tasks in Windows and Web applications. It also has the capability to playback user interface actions and mimicking the user.
Today I will walk you through creating your own UI flow interacting with the native Windows calculator app running locally on my machine.
Setting up UI Flow
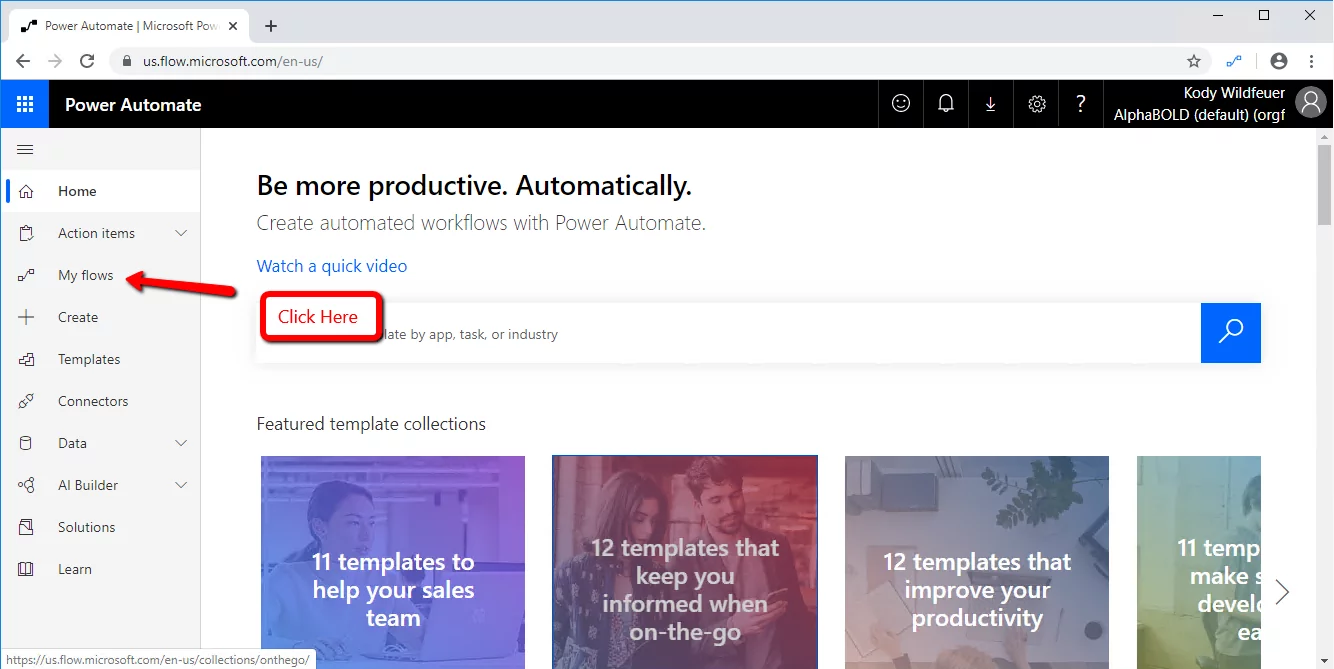
- Navigate to https://flow.microsoft.com/
- Click on the ‘My flows’ section on the left side of the screen.
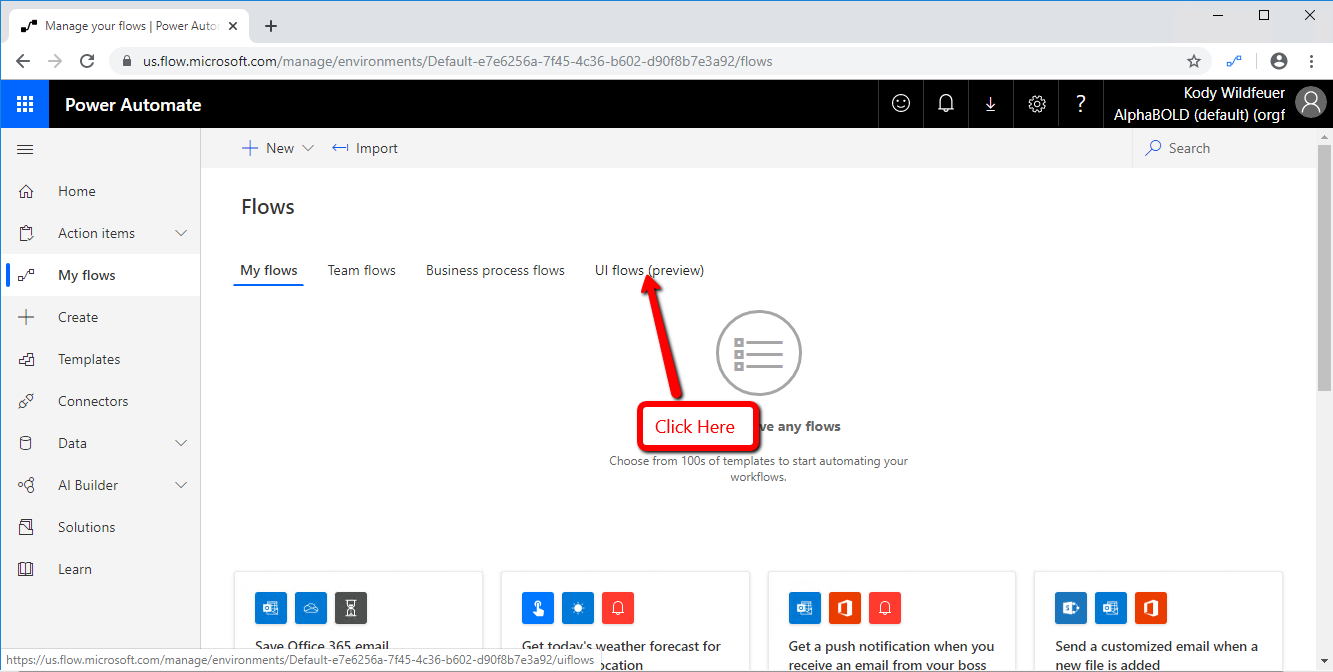
- Click on ‘UI flows (preview)’
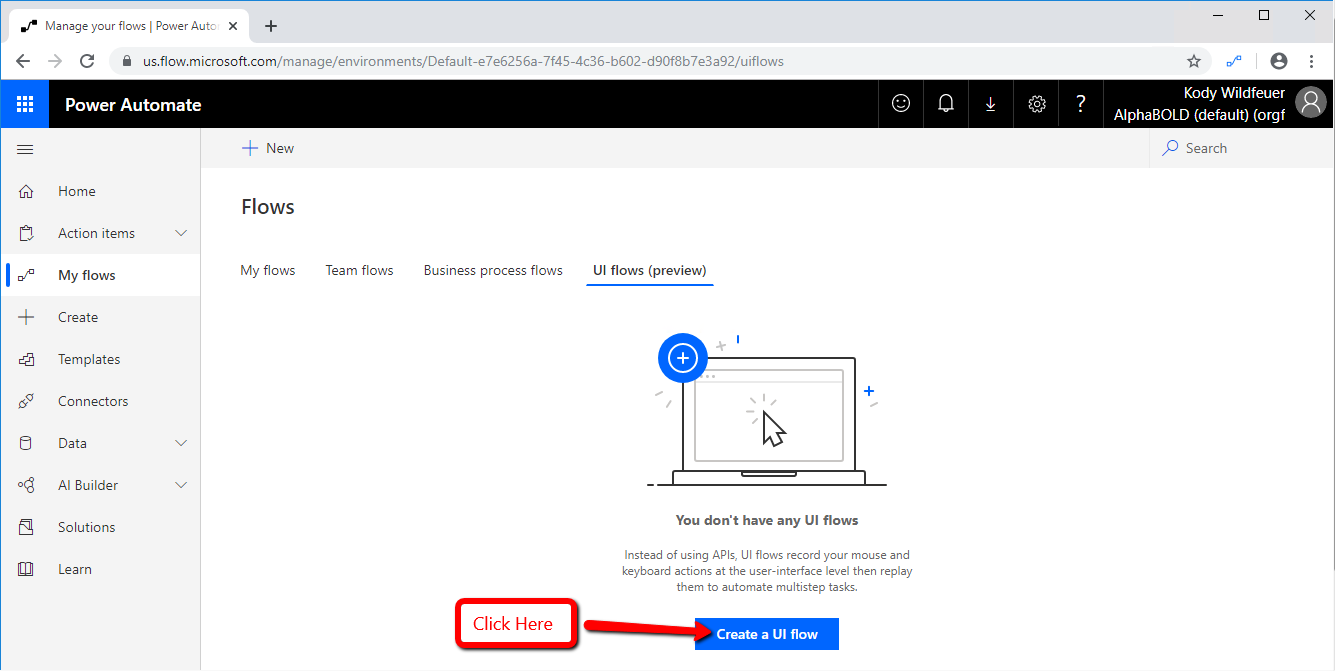
- Click ‘Create a UI flow’.
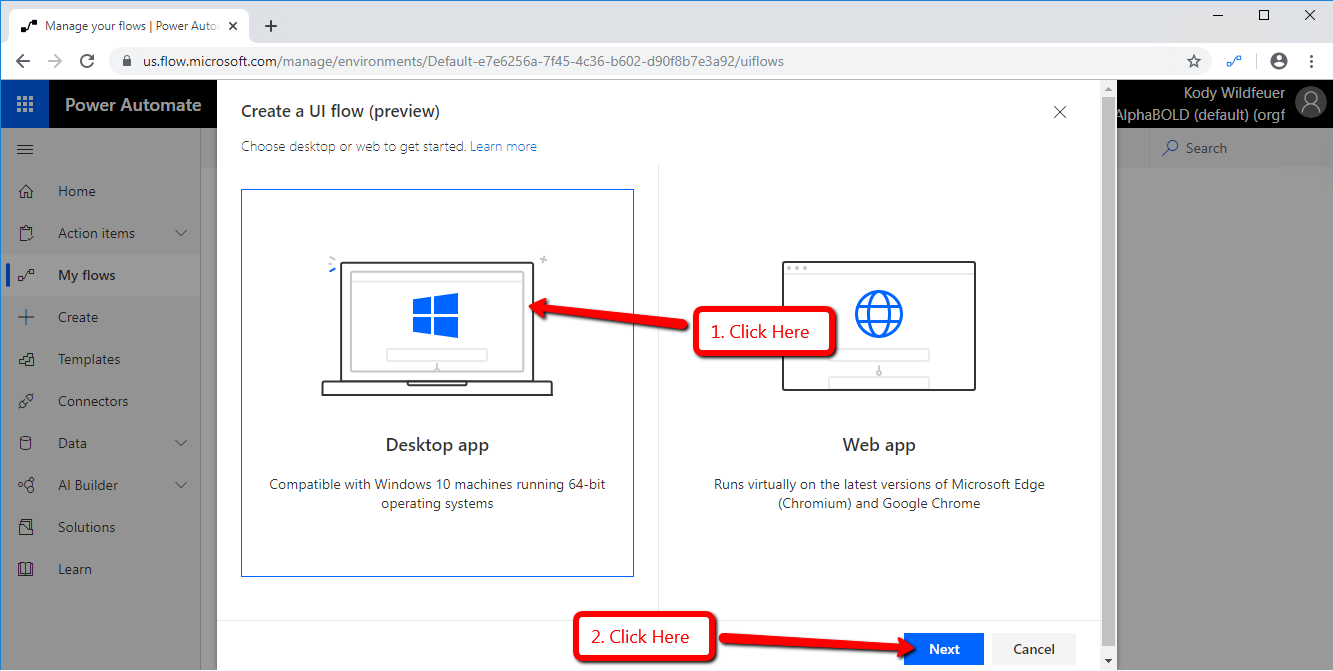
- Click on the ‘Desktop app’, and then click ‘Next’.
- A box would appear on the right site titled Flow Name, type in ‘myUIFlow’
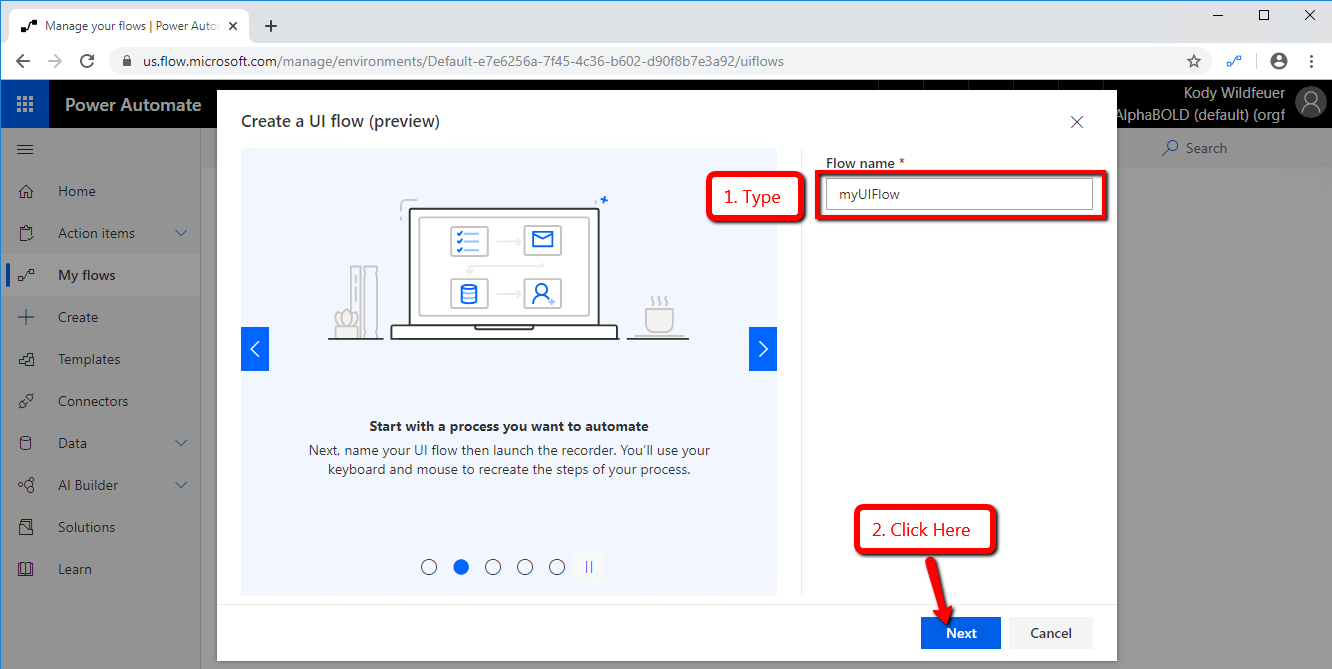
- Click on the ‘Next’ button

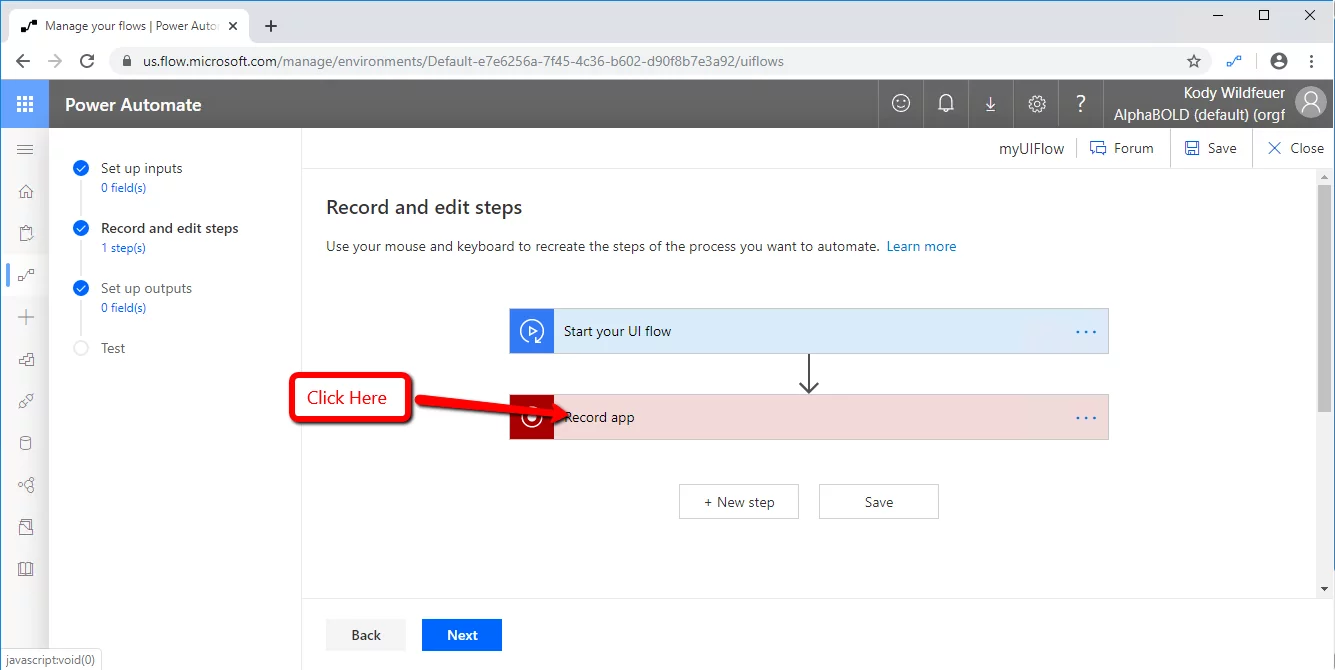
- Click on ‘Record app’
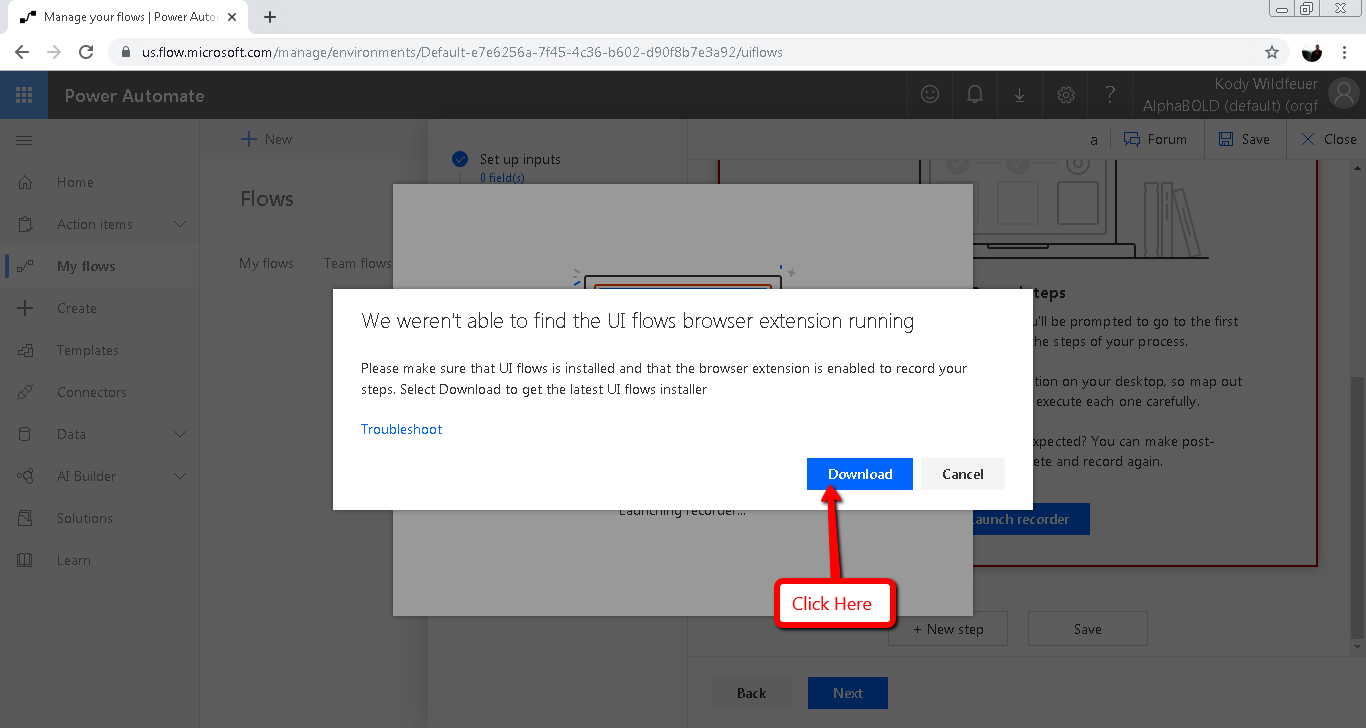
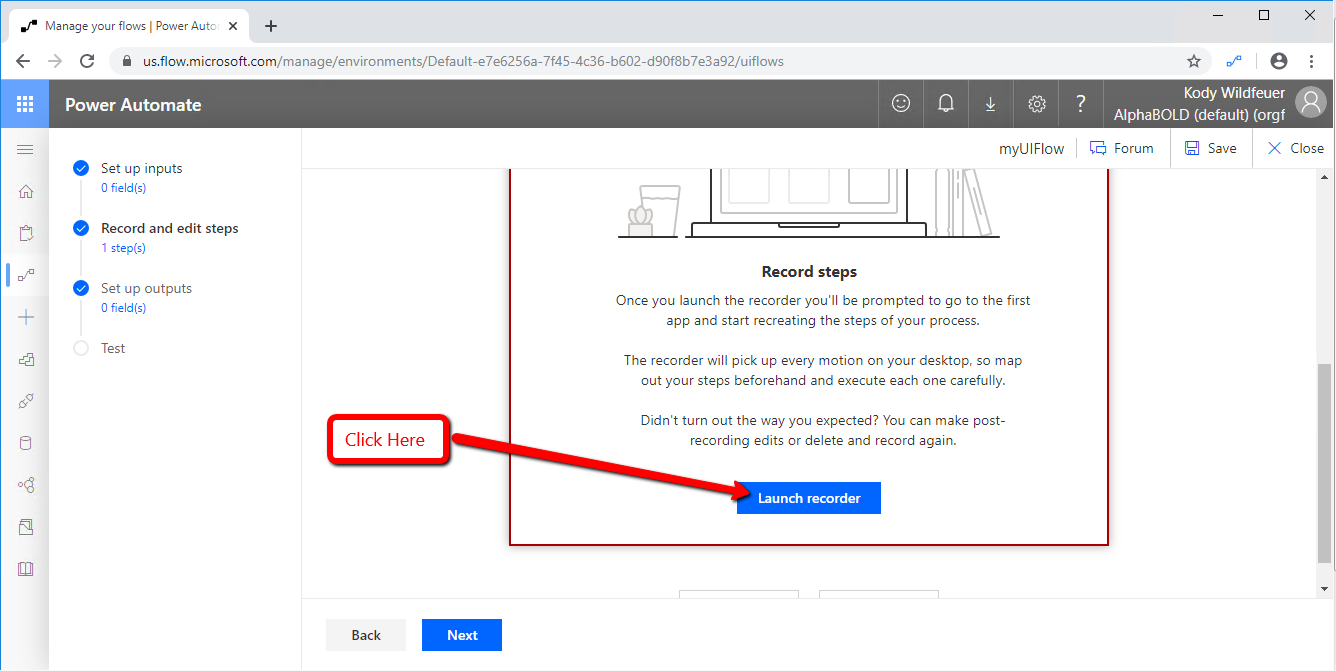
- Click the ‘Launch Recorder’ button

- A pop up would appear. Click on the ‘Download’ option!
- After the download is complete, close all your browser windows. Run the downloaded .exe file. Then click through the installation using the default settings.
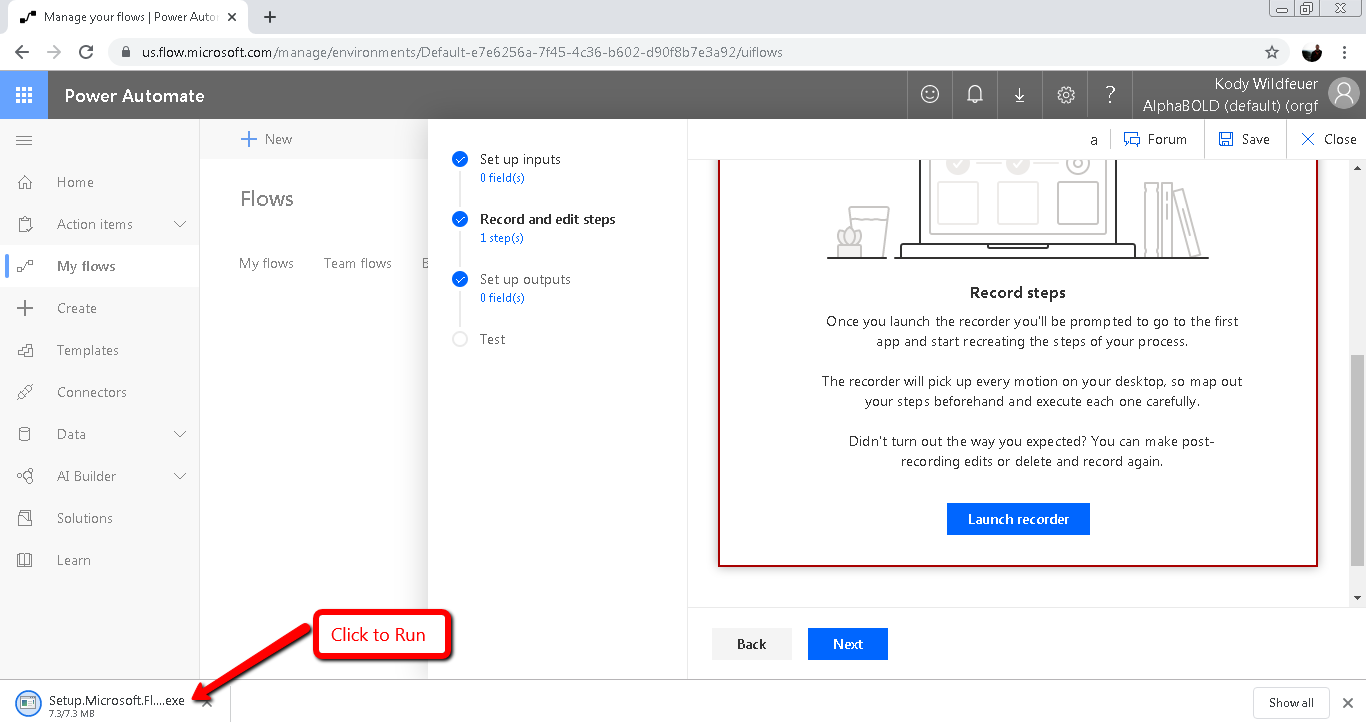
- Navigate back to the Power Automate screen, and click on ‘Launch Recorder’
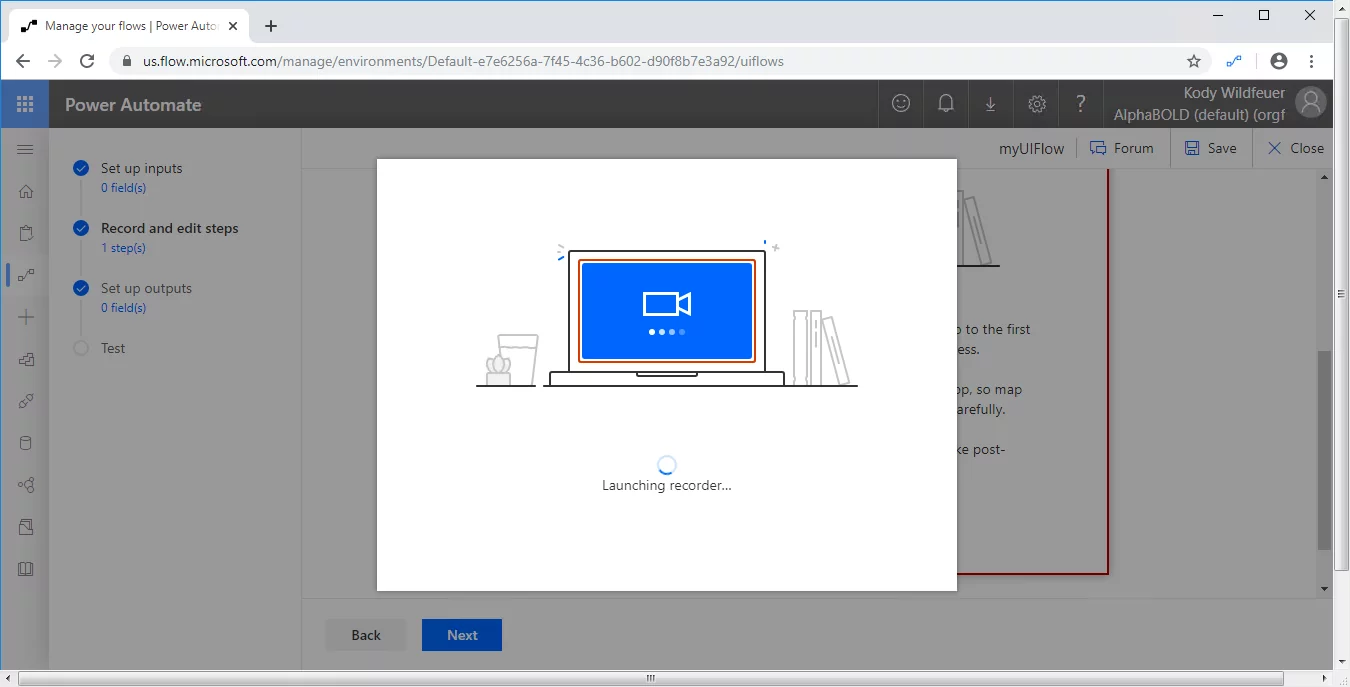
- You will see the window depicted below:
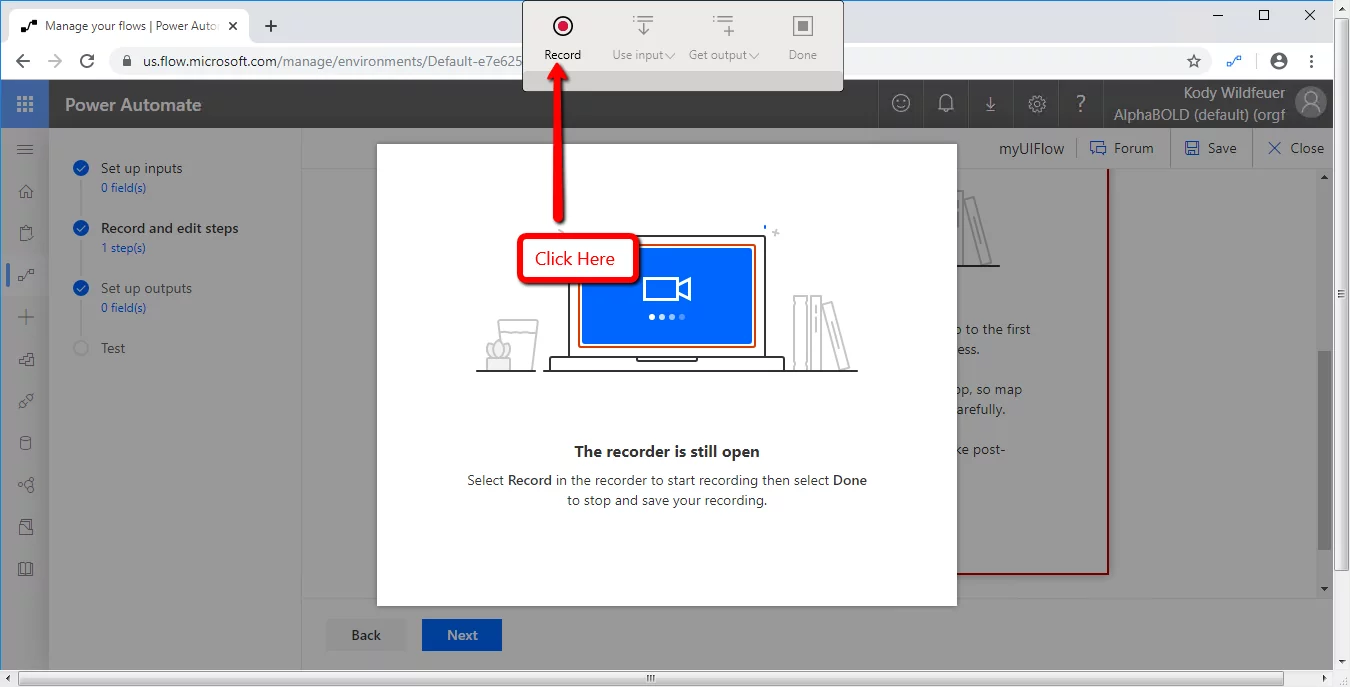
- Click ‘Record’ as shown in the image below.
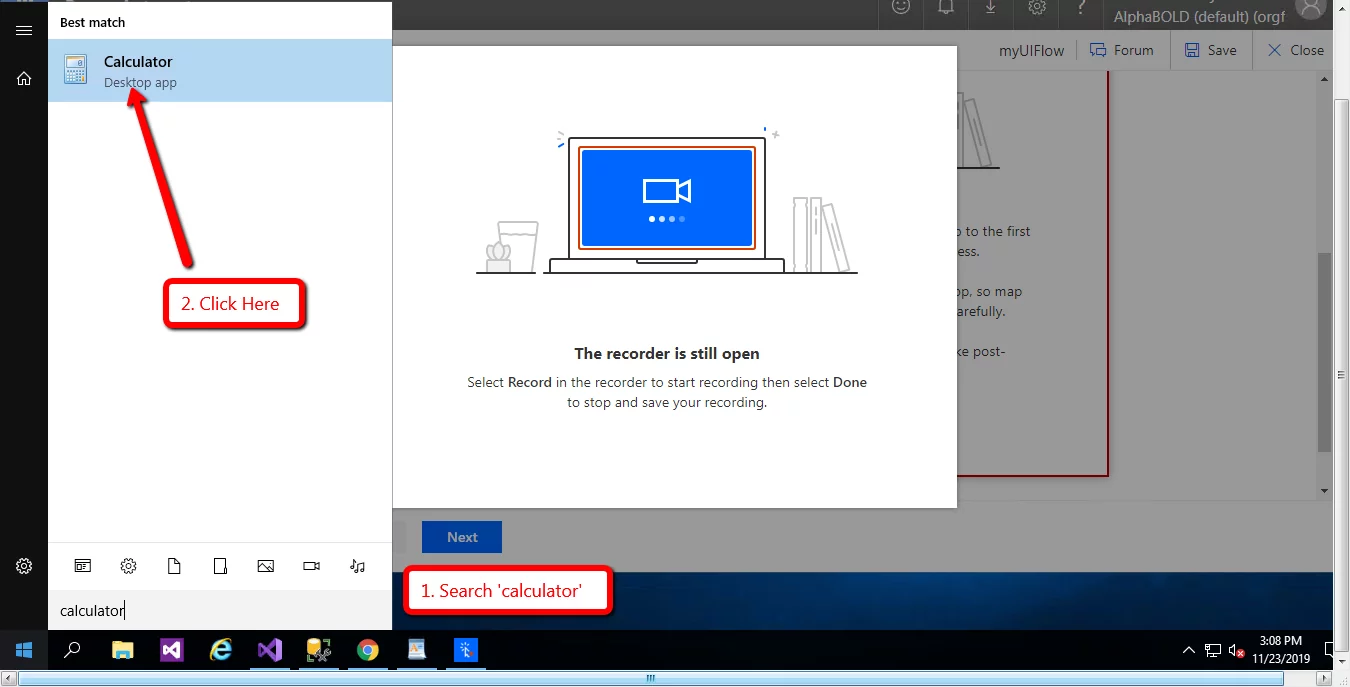
- Press the ‘Window Start Bar’ on the bottom left of the screen.
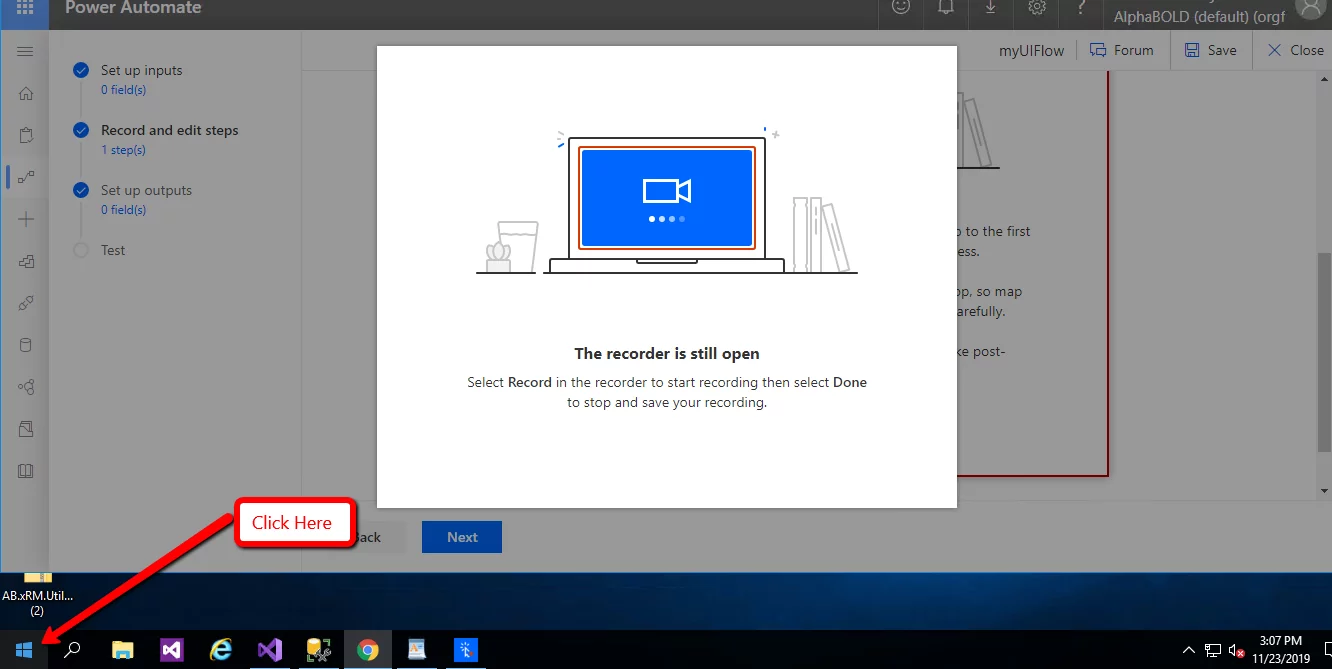
- Search for the calculator and open it
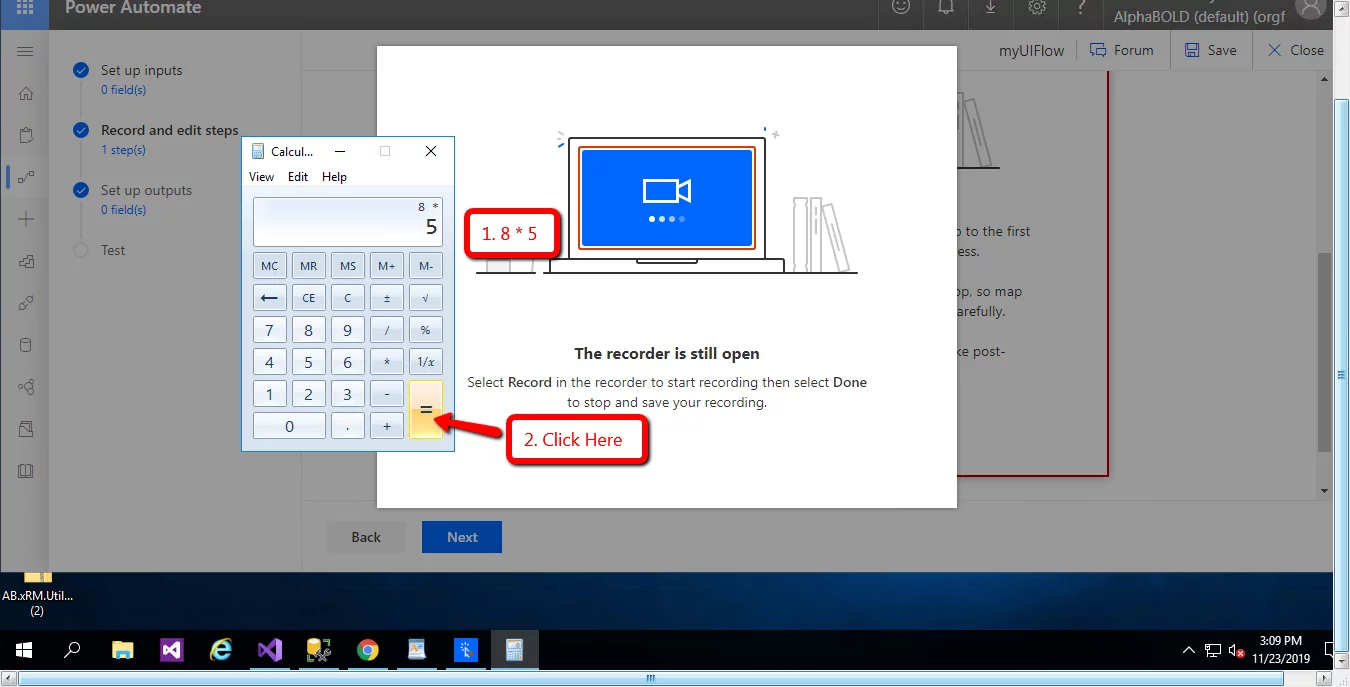
- Input 8 * 5 in the calculator, and then press the equals (=) sign.
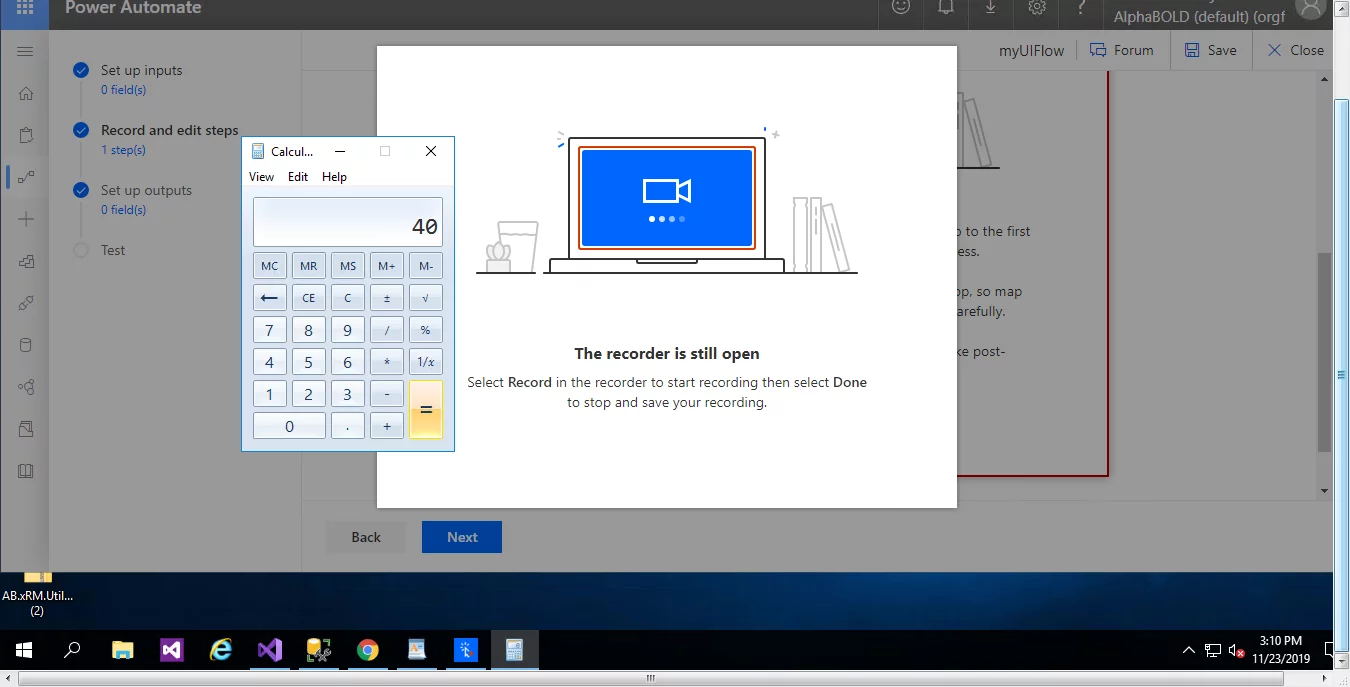
- 40 should show up in the display window of the calculator.
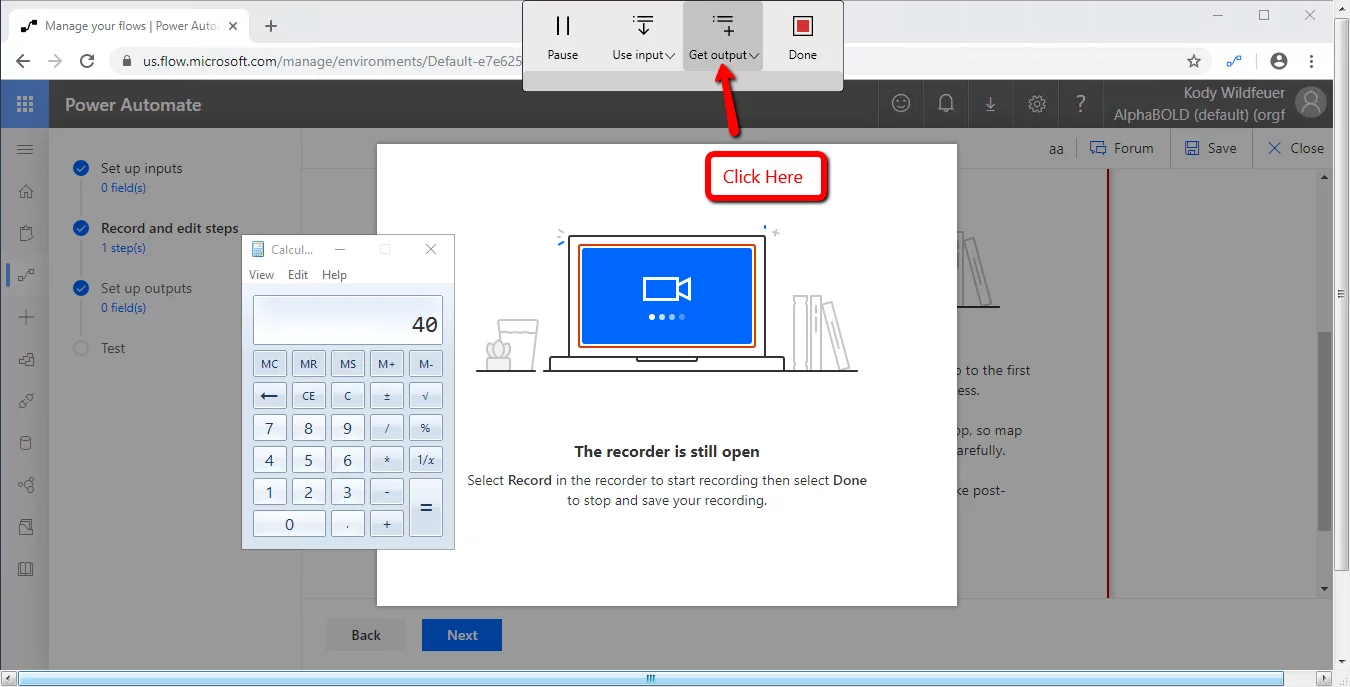
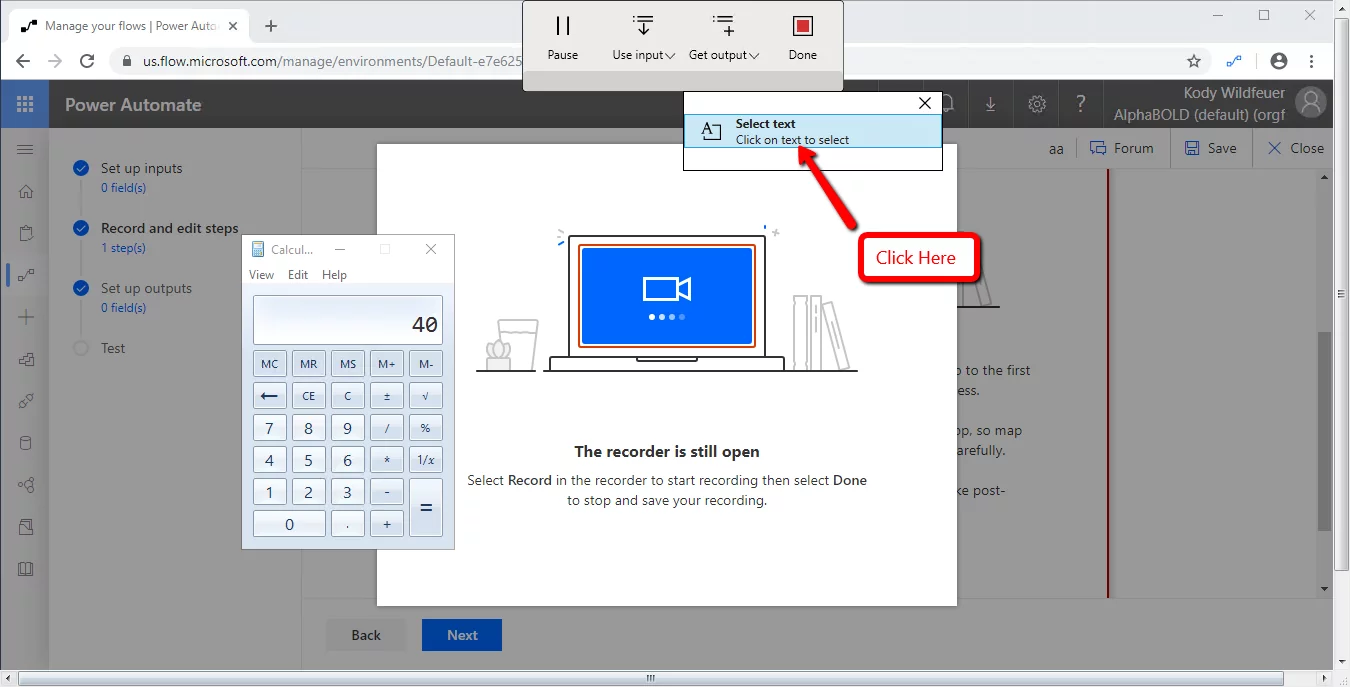
- Click on ‘Get output’ on the recording bar on the top of the screen.
- Click the ‘Select text’ option.
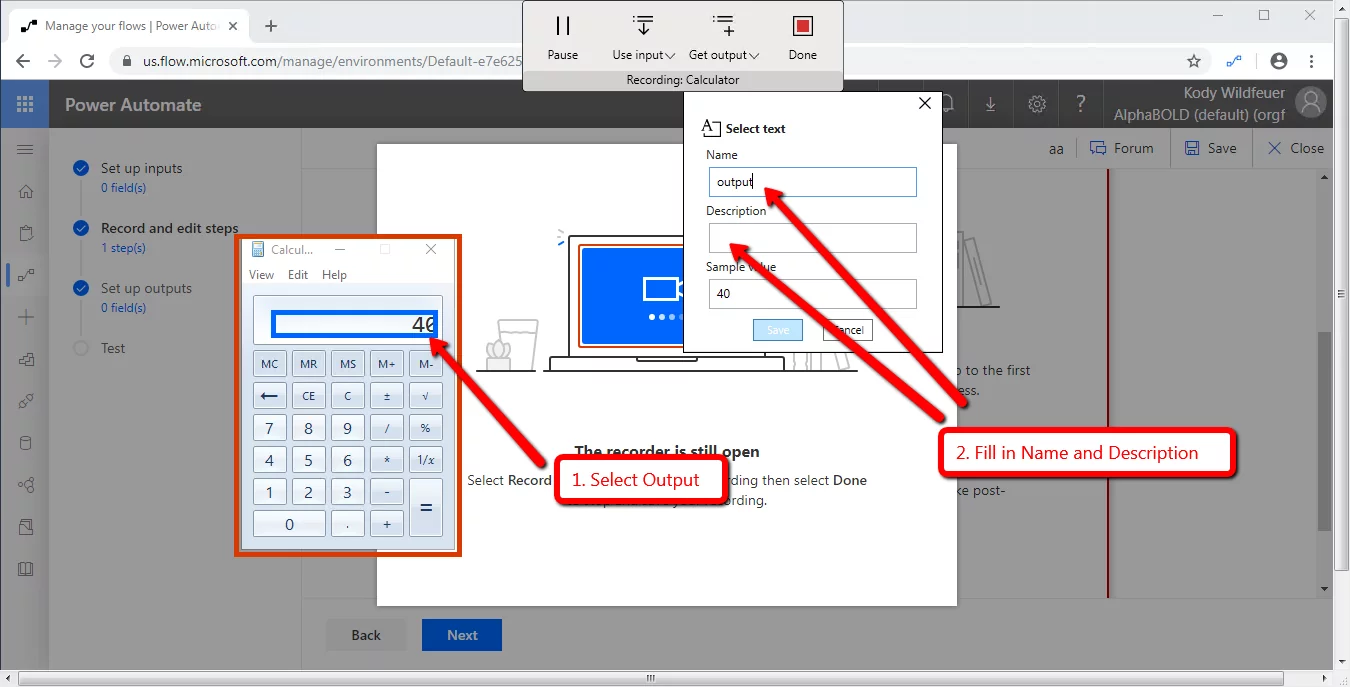
- Now you have to follow the steps below:
- Press ‘Save’
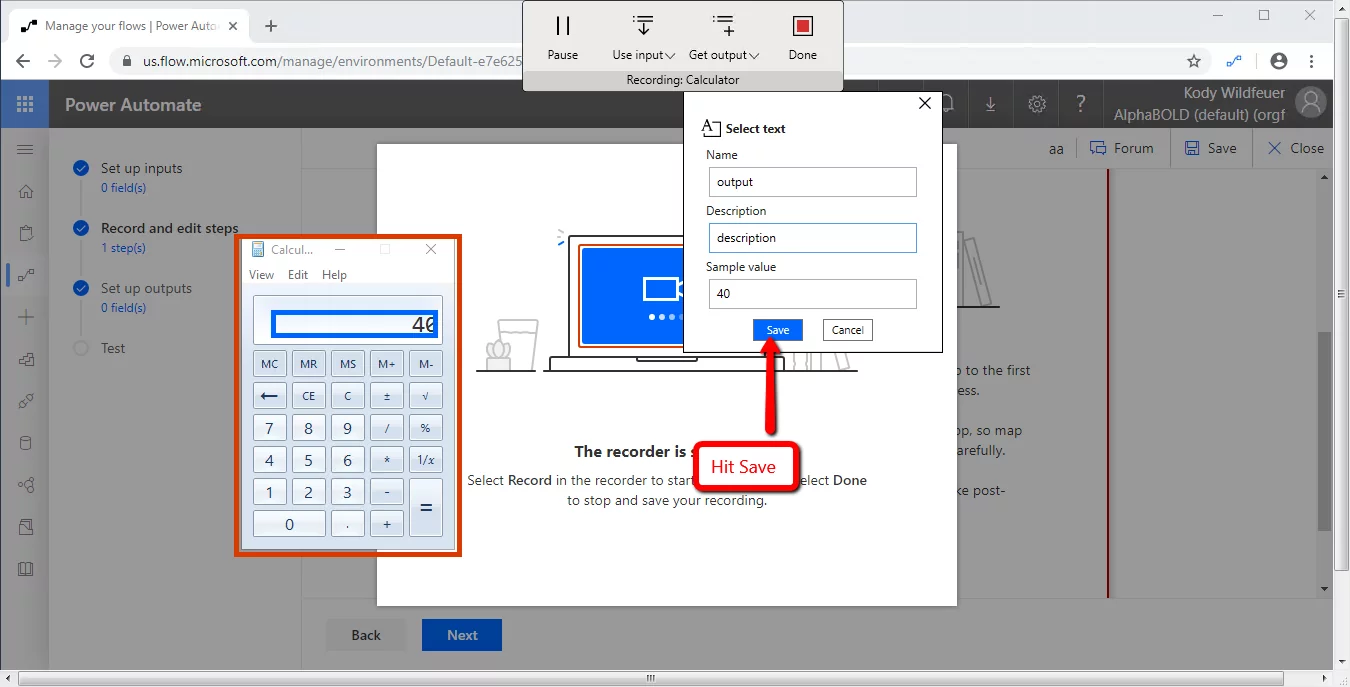
- Press ‘Done’

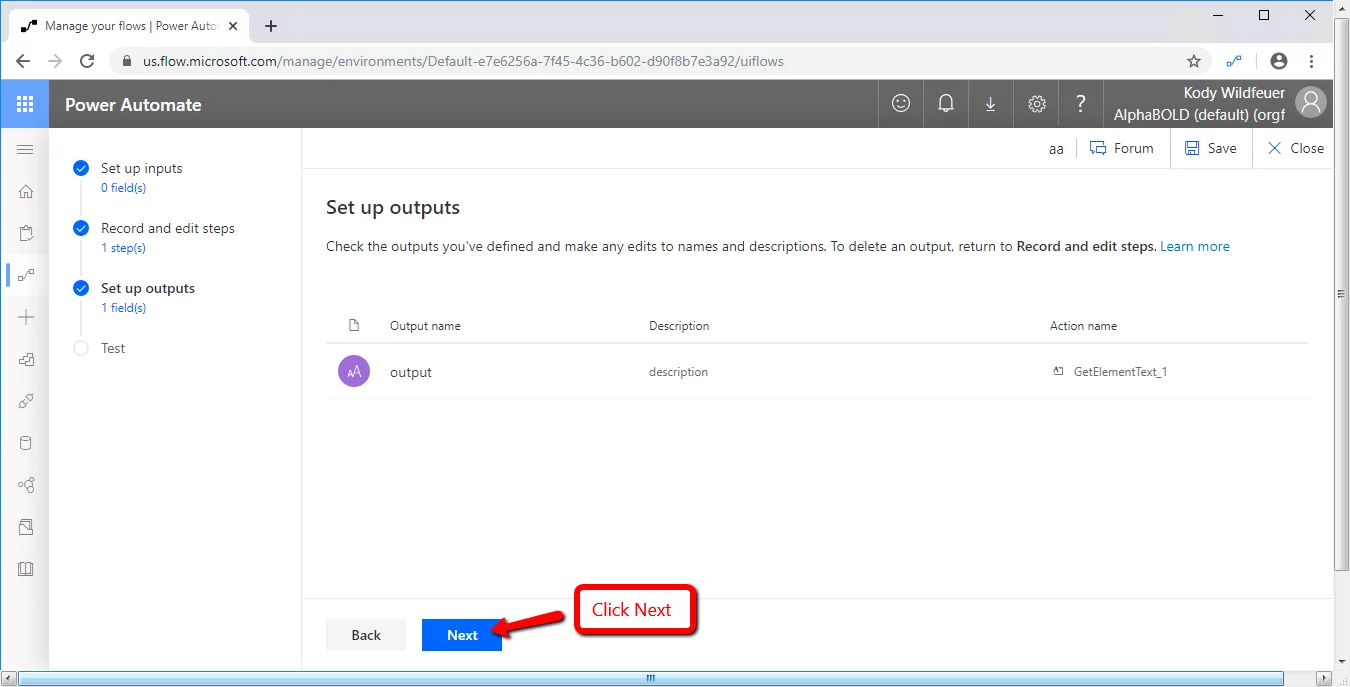
- Navigate back to your browser window and click on the ‘Next’ button.
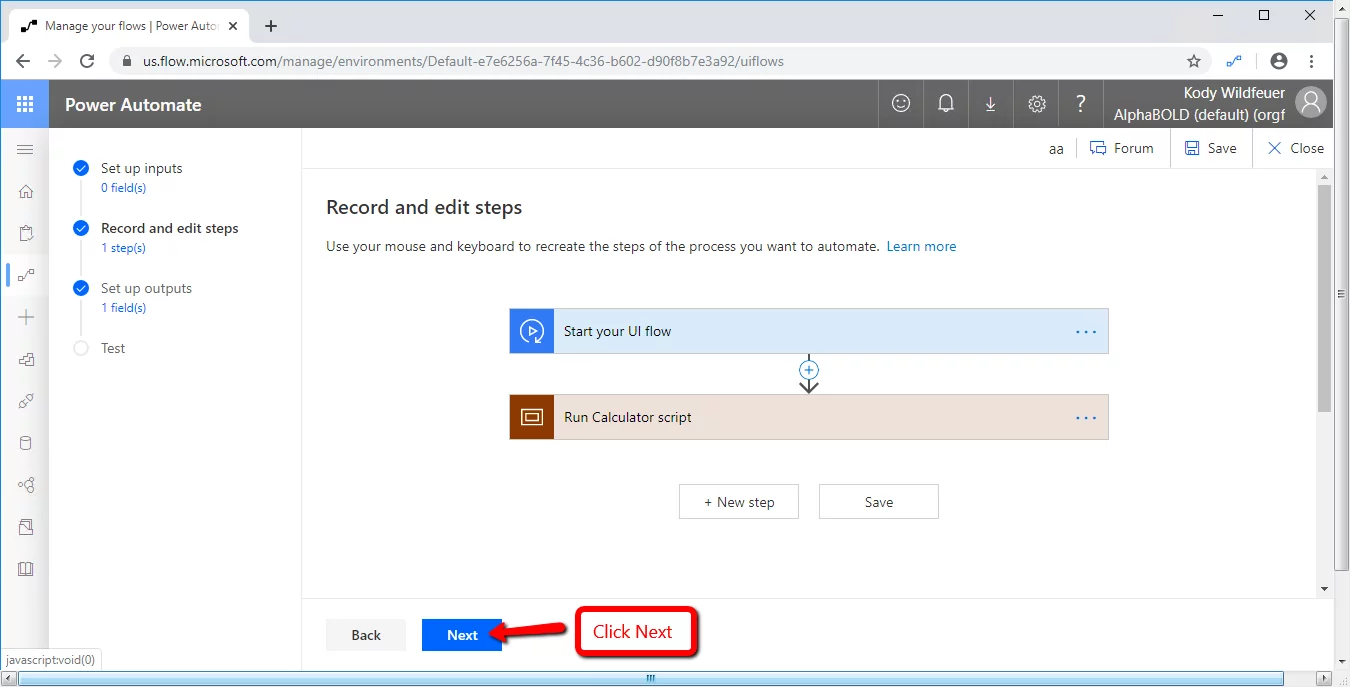
- Click on ‘Next’ again.
- Click ‘Test now’
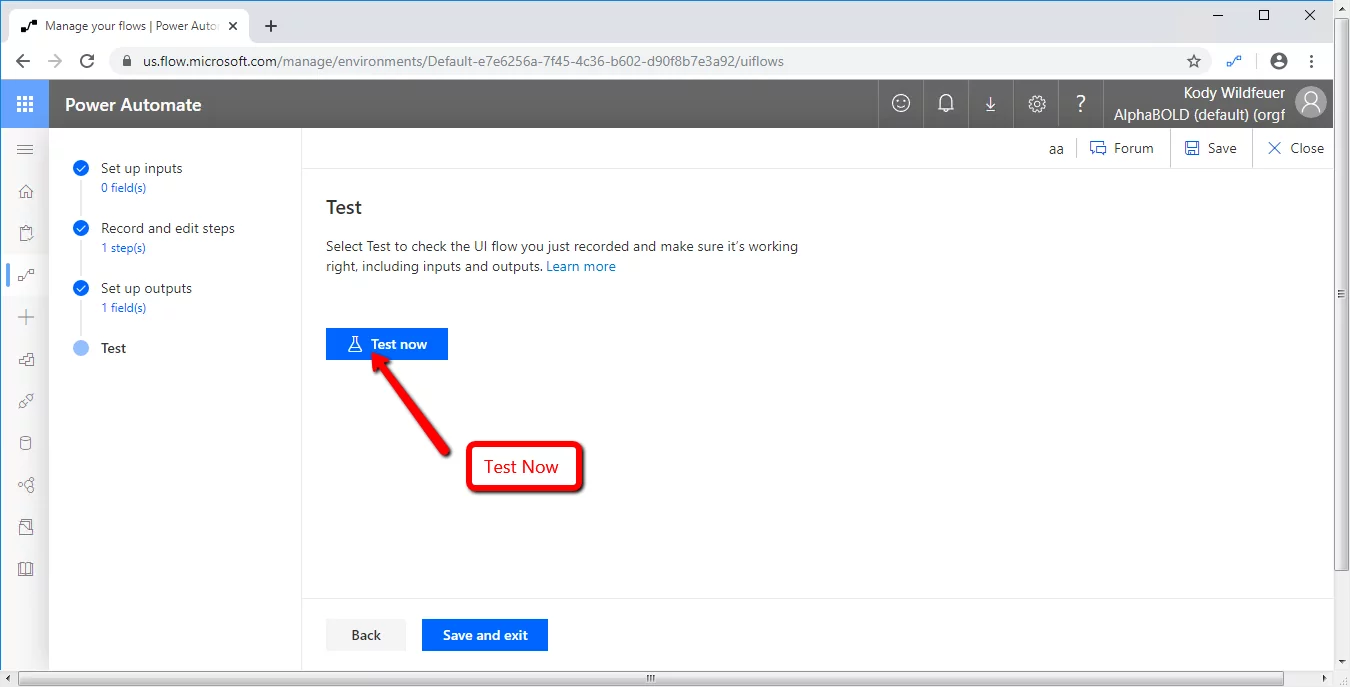
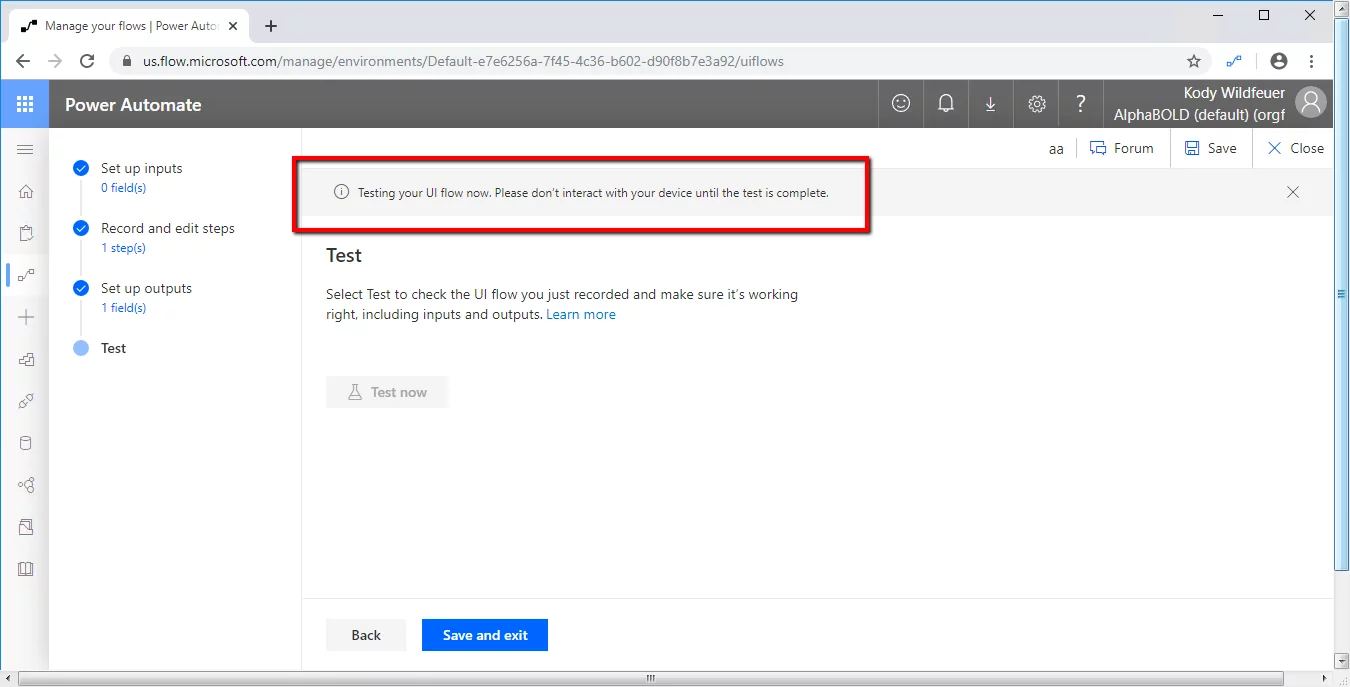
- You will see the recorded actions work as depicted in the image below. Give this process some time. It takes about five seconds to spin up.
- The calculator will appear itself and type 8 * 5 and you will see 40 on the calculator display. Look ma’ no hands! ?
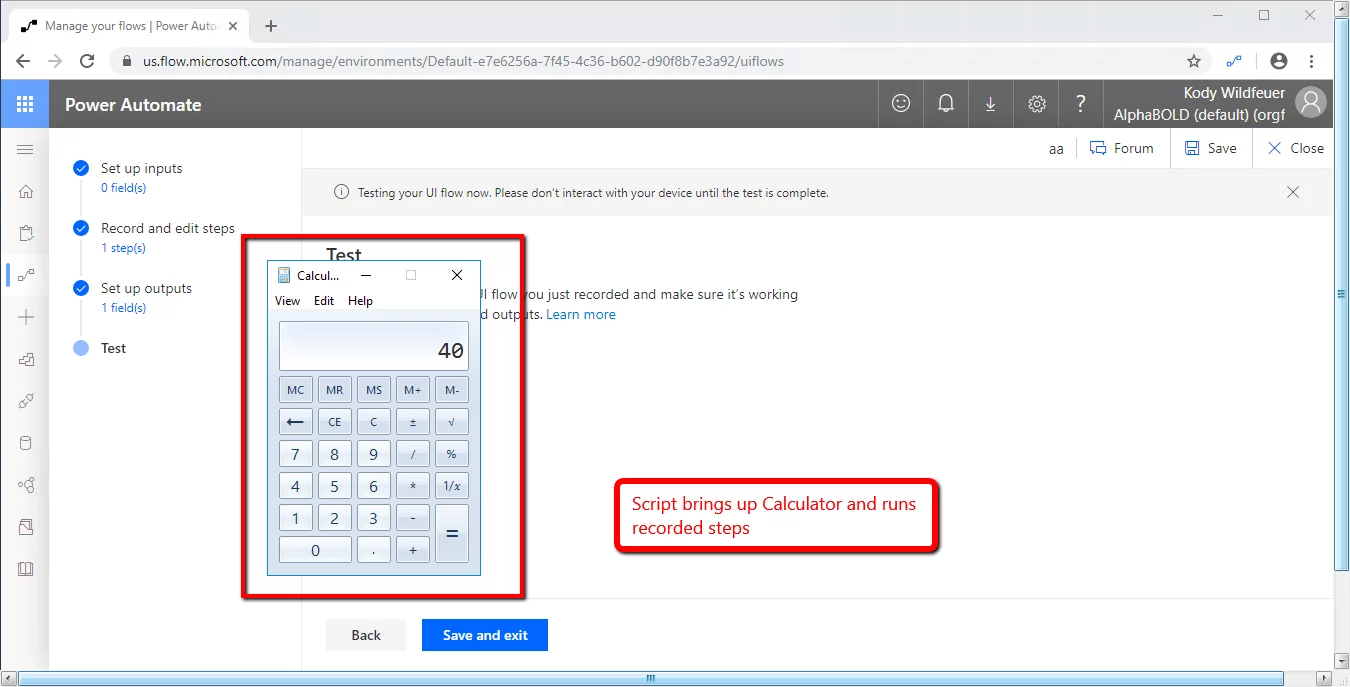
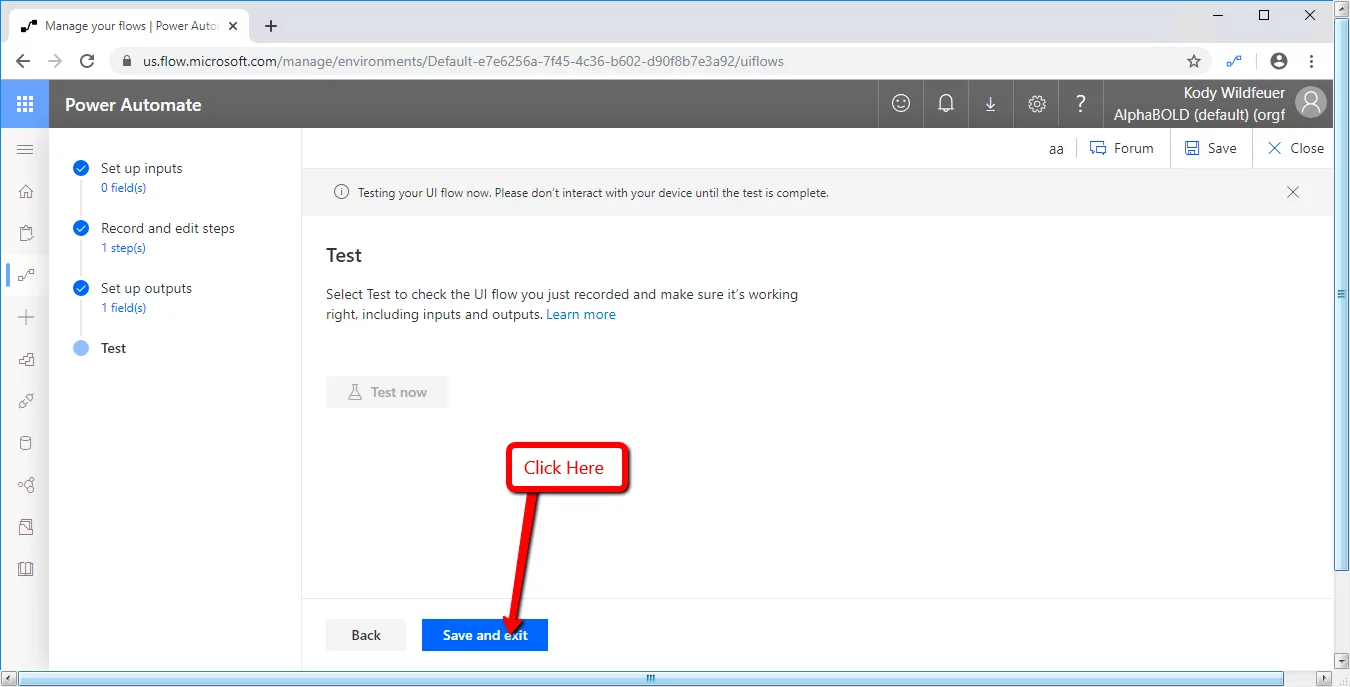
- Congrats – you have recorded your first process automation. Great work!! You can now click ‘Save and exit’ to save this automation script.
Conclusion:
Now you have created your first UI flow! Feel free to experiment further using your own specific legacy applications. These applications can now be directly integrated and used by flows in the cloud.
Feel free to leave us a comment, we are happy to provide further explanations!
Go forth with UI Flow!