Introduction
Microsoft defines Azure Resource Manager (ARM) as “the deployment and management service for Azure.” The service offers a management layer that allows users to create, update, and delete resources in their Azure accounts. This blog aims to guide users on how they can create and deploy an Azure ARM template. This blog also discusses a better alternative to manually building resources in the Azure Portal!
Azure ARM templates allow users to define up to 100 different components in Azure, and users can create them all at once! They are also idempotent, meaning repeated deployments only update what’s changed.
ARM templates are JSON files that are created with any text editor. Each Azure ARM template defines each resource (to make or update) along with various attributes and configuration settings. Once a user finish creating the ARM template, the next stage is initiated, i.e., deployment. Users can deploy Azure resources via a single ARM template via PowerShell, and Azure CLI, among others.
Learn more about DevOps Services!
Azure Resource Manager Template Snippet:
Each ARM template differs slightly depending on the resource deployed and its attributes. However, the following JSON snippet represents a general schema that the template must follow:

“$schema”: This attribute represents the JSON file used to validate the schema. For resource deployments, it will have the following web address: https://schema.management.azure.com/schemas/2015-01-01/deploymentTemplate.json#.
“contentVersion”: This custom attribute represents the version of the Azure ARM template itself. This attribute is great for tracking changes made to ARM templates.
“parameters”: The ARM template does not need to contain static values. Users can pass parameters to the template at run time. This is where the parameters are defined.
“variables”: The template schema allows variables. Users can define all the variables referenced throughout the template here.
“functions”: A useful feature of ARM templates is the ability to run expressions. Users can define common terms in this attribute and call them throughout the template.
“resources”: The resources section is by far the largest. This section defines all the resources that the user wants to deploy to Azure.
“outputs”: By default, ARM template deployments return nothing. Suppose a user needs to return something from a template, for example, a dynamically generated component; they can do it here.
Resources Deployment:
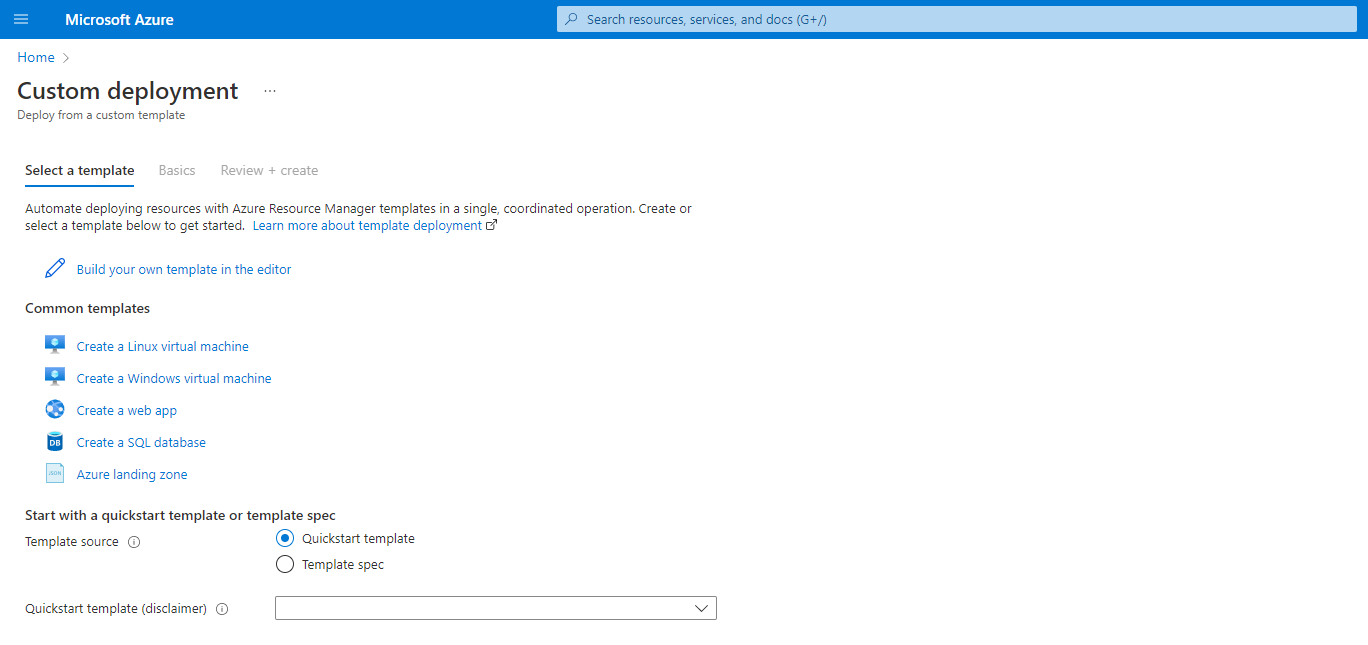
ARM templates can be thousands of lines. Here is a step-by-step example of resource deployment for users who are just getting started with ARM. Instead of creating your own, you can download a sample code from Azure Portal as shown in the image below:
Navigate to the custom deployment in the Azure portal and you can edit or create your own template.
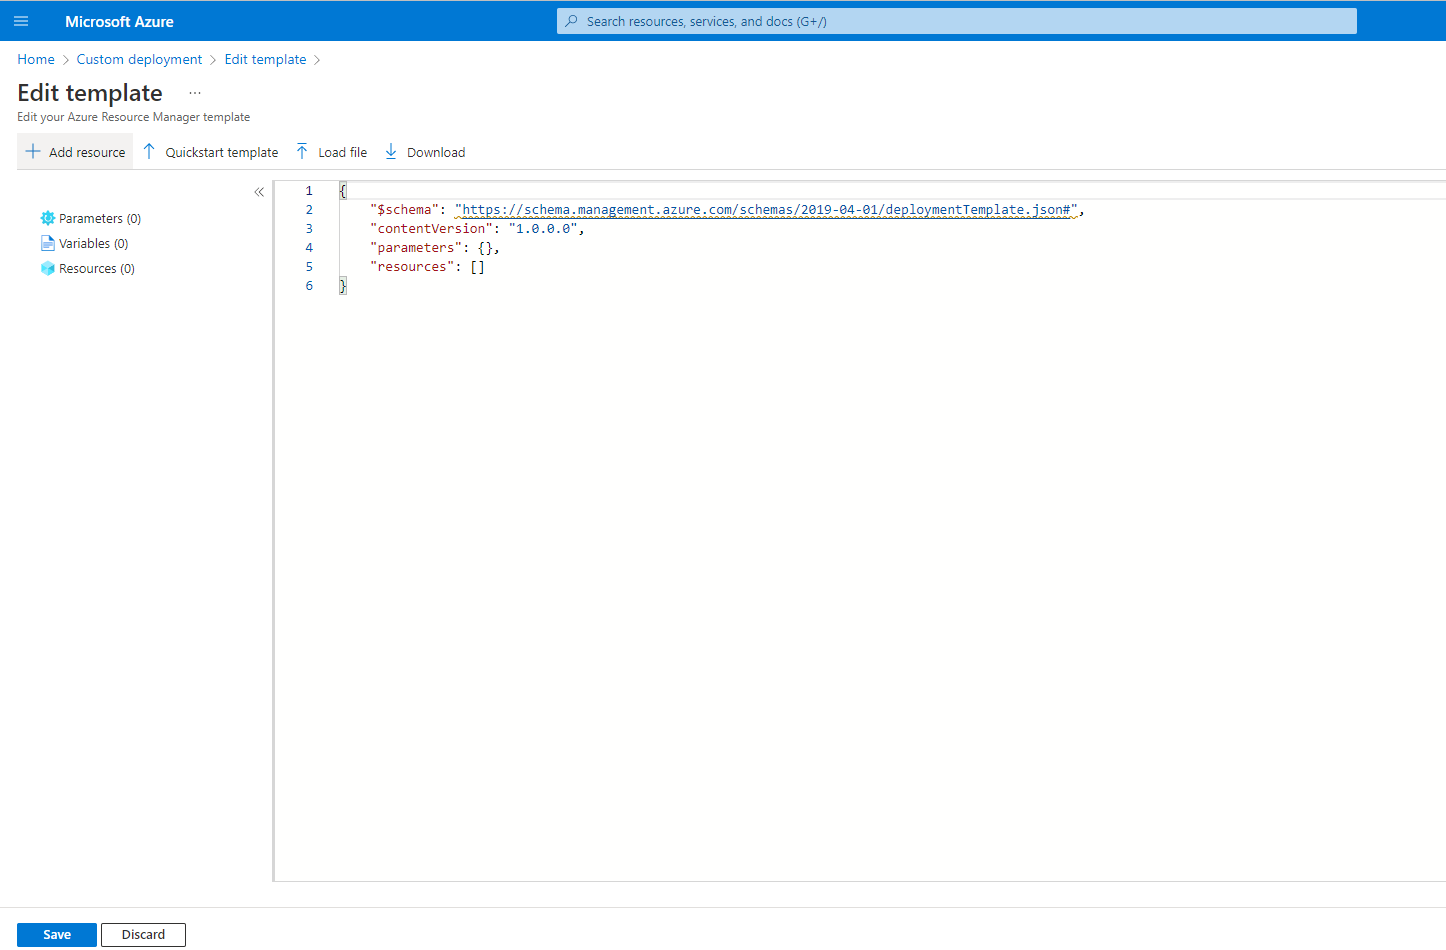
If you are writing your own template, then just click on “Build your own template in the editor.” You will find the page where you can create any resource for deployment in Azure.
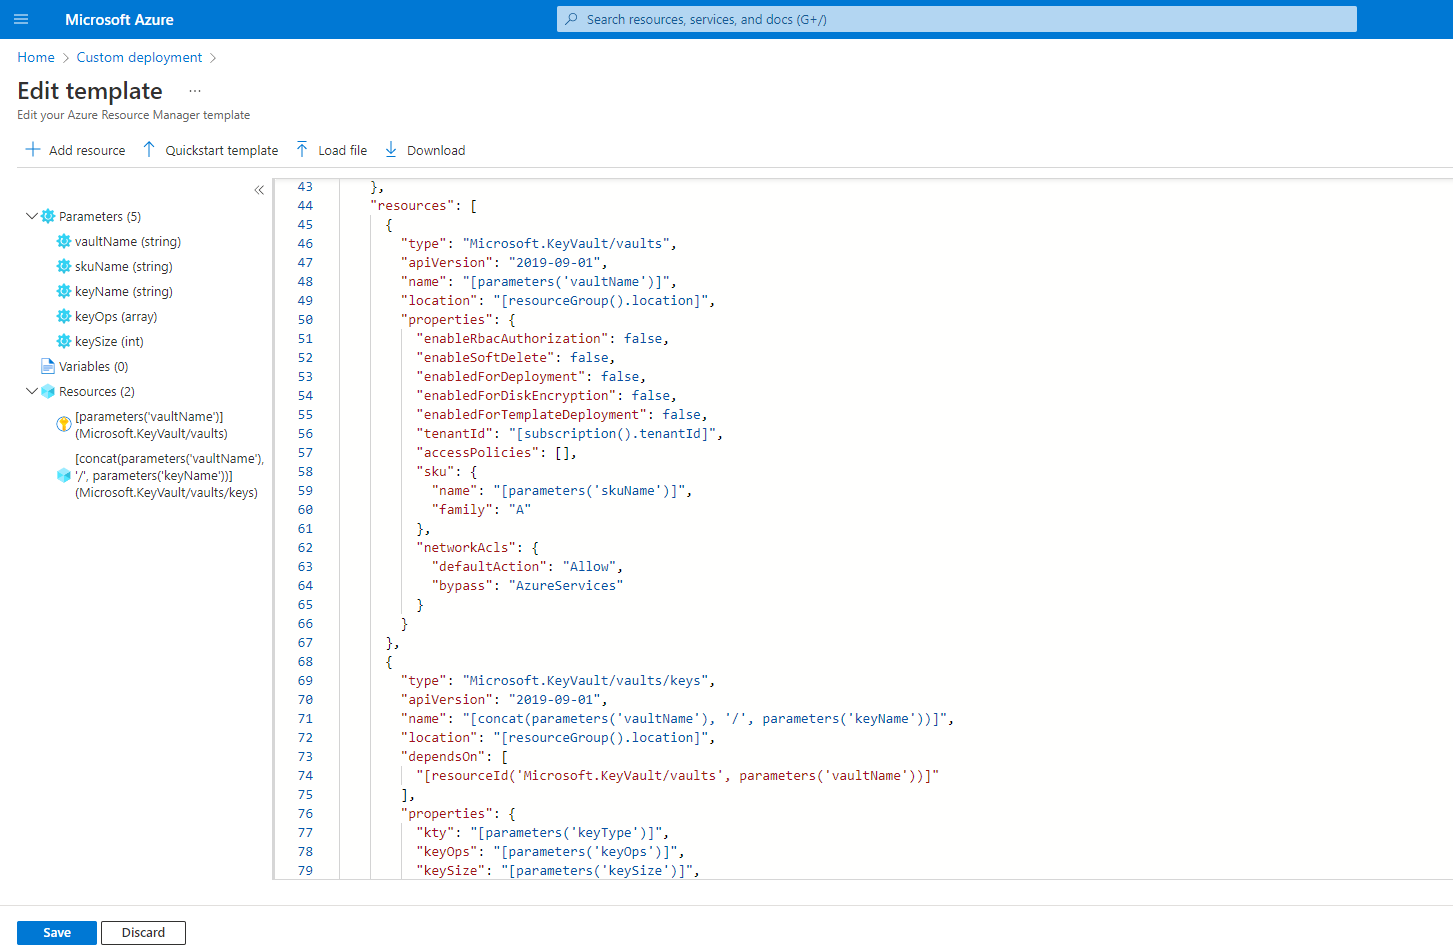
For this blog, we are taking an example of creating Key Vault and Key template to deploy in the Azure portal. We created parameters that we will use to pass on the values for resources included in the template. It should be in JSON format as shown in the image below:
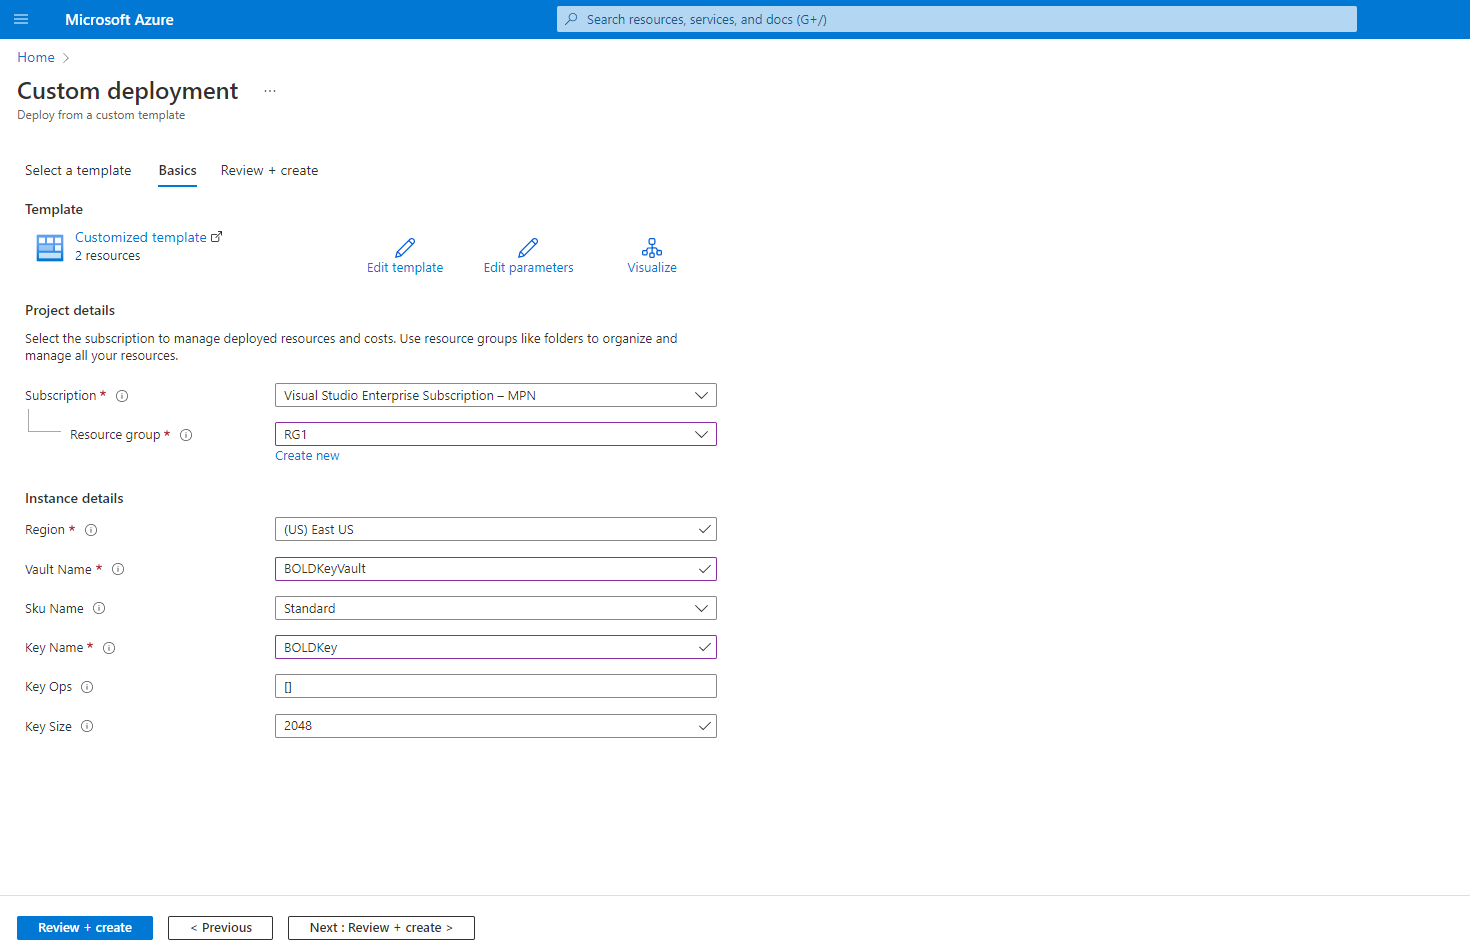
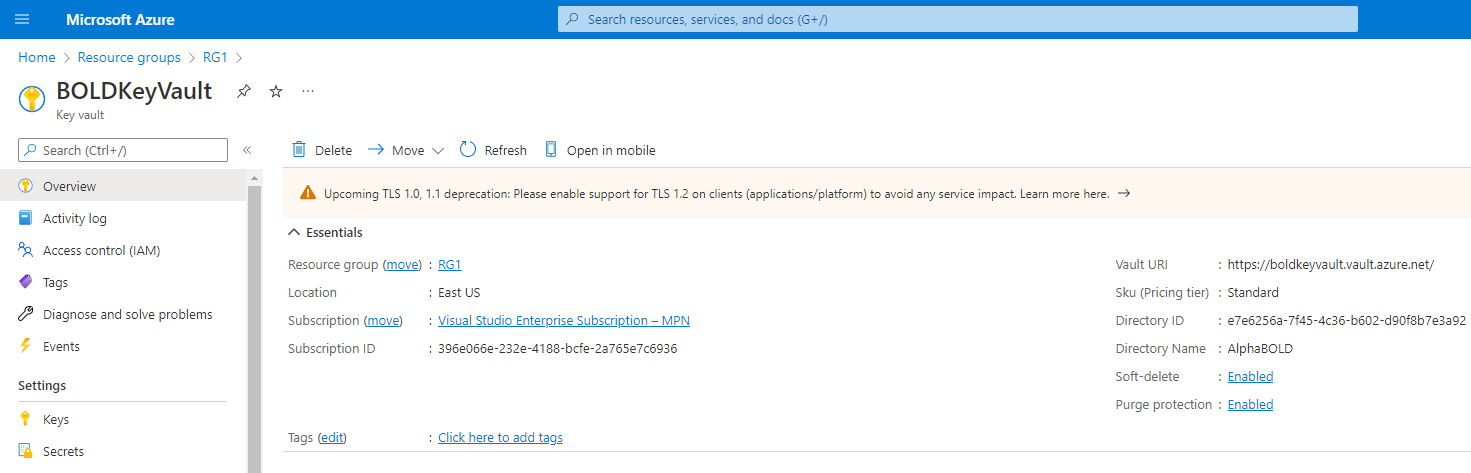
Navigate to the next step and pass the values in input field and then click on Review + Create. It will deploy the resources “Key Vault & Key” into the Azure.
The Key Vault has been deployed successfully through ARM Template.
Explore the World of ARM Development
Conclusion
In this blog, we discussed the fundamentals of the way an Azure ARM template is constructed and how to deploy resources inside Azure Portal. If you would like to learn more about Azure ARM and its capabilities, reach out to us using the comment box below.