
Introduction
In this blog we will discuss how to render 3D images in Power Apps. Users can download 3D images from Experimental PCF Control Assets. Moreover, 3D models are also available with the 3D viewer and the Print 3D applications which are installed with windows 10.
Using 3D images in PowerApps
Create a PowerApps to render 3D images:
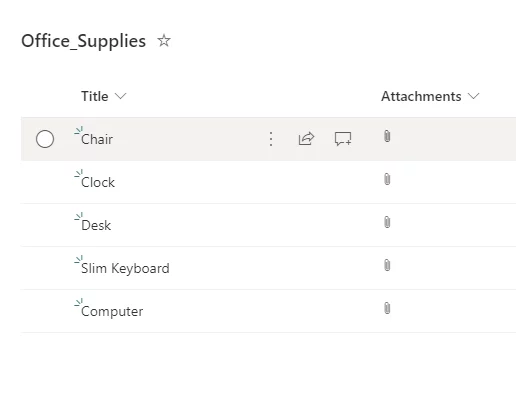
1. Create a SharePoint list named “Office_Supplies”.
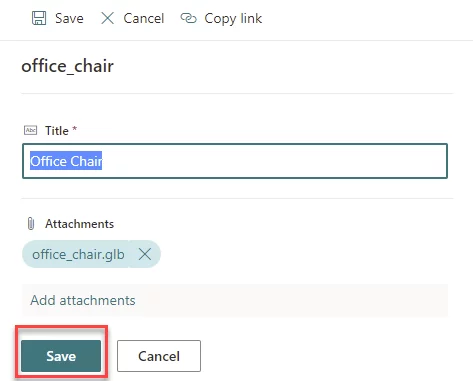
2. Add items to the list as shown in the image below. The attachment is the 3D image to be rendered in the PowerApp.
3. Go to https://make.powerapps.com
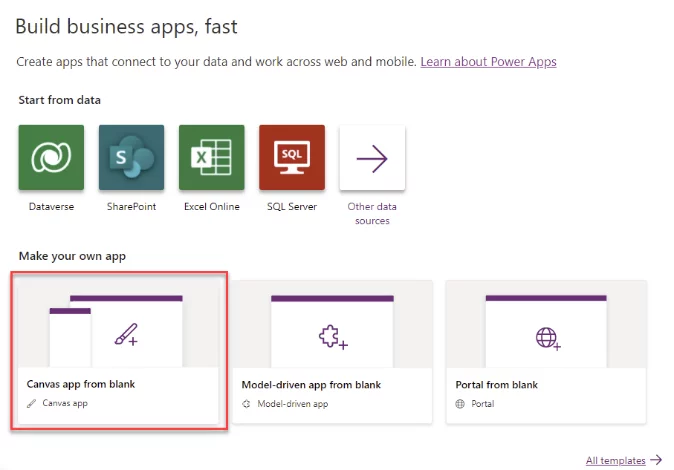
4. Choose the “Canvas app from blank” as shown below.
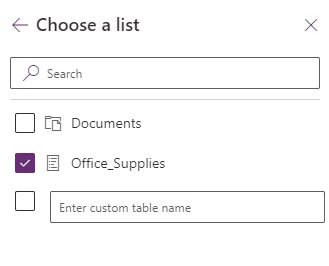
5. Create a connection to the created “Office_Supplies” list.
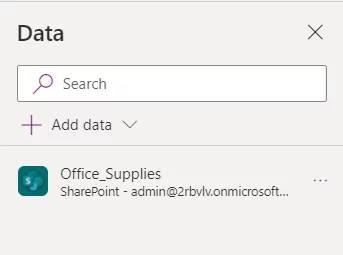
6. Create a gallery and set its “Data source” to “Office_Supplies”.
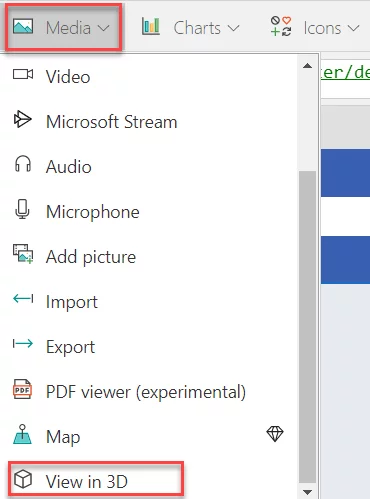
7. Then add a control to view the 3D images.
Go to “Media” and choose the “View in 3D”.
8. Select the “View in 3D” control and enter the following formula for its “Source“: First(Gallery3.Selected.Attachments).Value where Gallery3 is the name of the created gallery. The name of your Gallery may be different.
9. This is the created PowerApp.
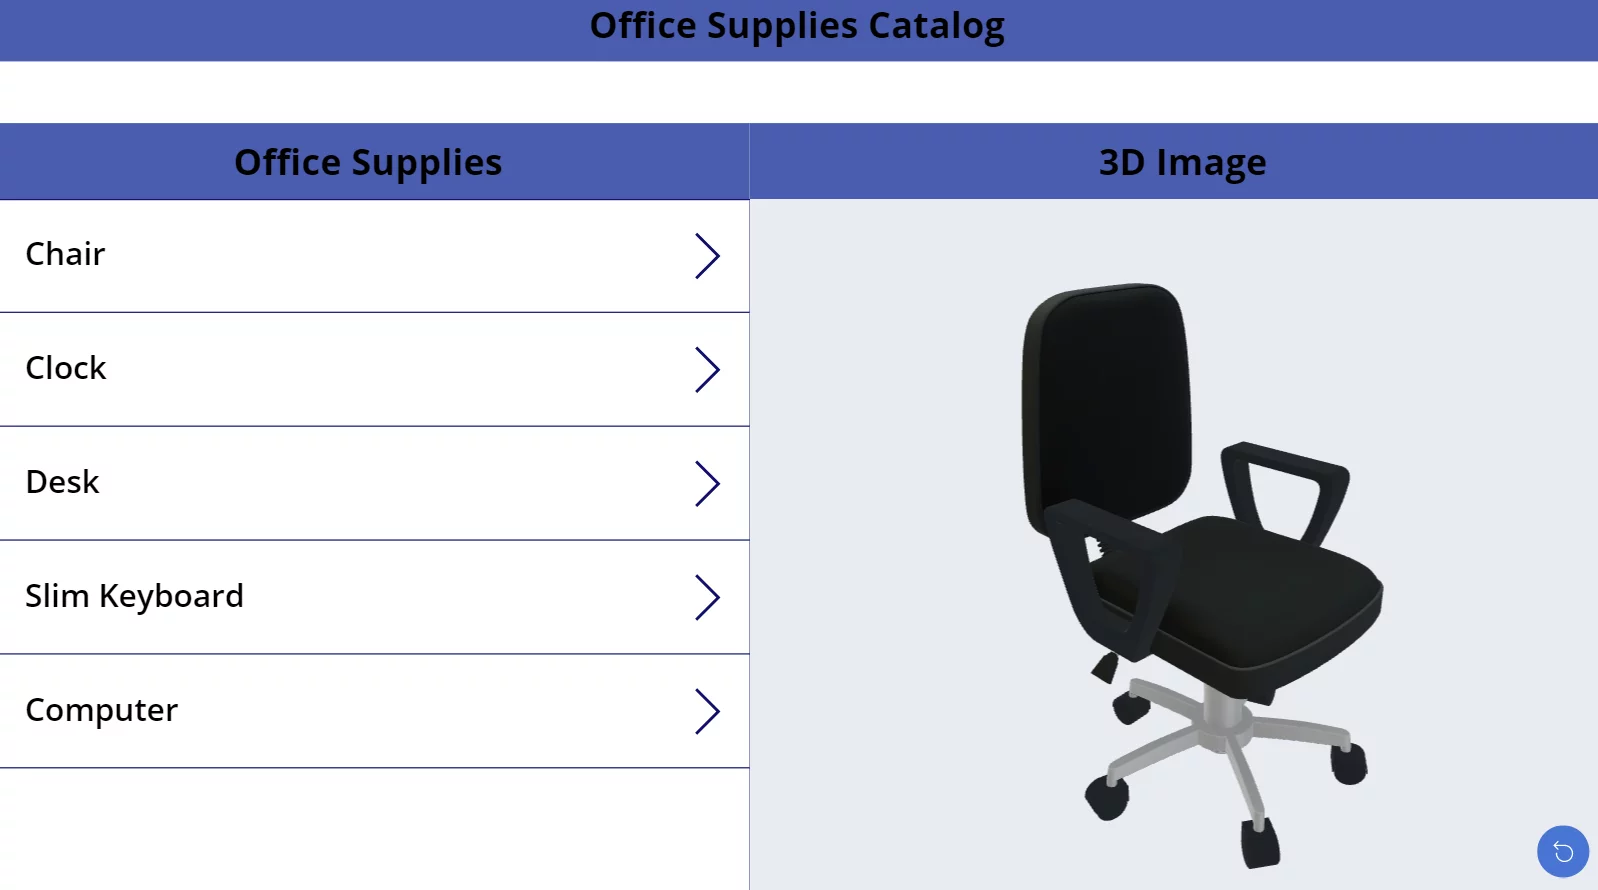
We can rotate, magnify, and change the positioning of the rendered 3D image.
Conclusion
In this blog we have learnt how to store images in SharePoint list and render and manipulate images in PowerApps. This gives us an idea of how PowerApps can also be utilized for 3d image rendering.