This blog will overview a few newly introduced AI models in Power Platform. These models include the new Entity extraction prebuilt model, Entity extraction custom model, and Category classification models.
Overview of the AI Models in Power Platform
1. Entity Extraction of an AI Model:
This model recognizes specific data (textual) that is essential and interesting for the business. The model uses predefined categories to identify the elements from the text and then classifies them into the appropriate categories. This model is helpful for the transformation of unstructured data into machine-readable data. An example of using this model would be extracting and classifying the data in a string of text. Parsing the text “Costs have increased by 7% at our Carlsbad office” and the language “English” Would provide an output of: “7%” as a Percentage and “Carlsbad” as a city.
We can explore this model using the “try it out” feature in the Power Apps portal.
Follow these steps to explore the model:
Go to the make. PowerApps portal and select AI Builder à Build.
Then, select the “Try it out” option at Entity Extraction.
Use predefined text samples to analyze.
This model does have some limitations:
The length of the document is a Maximum of 5000 Characters.
The supported languages are limited to English, Chinese-Simplified, French, German, Portuguese, Italian, and Spanish.
Supported entity types are Age, Boolean, Color, Continent, Date and time, and others.
2. Entity Extraction Custom AI Models in Power Platform:
This model is the Entity Extraction model discussed above. It recognizes the specific data from the text and structures it with the help of predefined categories to classify it as informative data essential/useful for the business.
So, what is the difference between these two models?
This model requires you to build, extract, and publish your Custom entity before extracting and using it. As you make/construct data and design parameters, you also create the entity extraction model with a unique requirement for your model.
3. Category Classification Custom AI Models in Power Platform:
One primary problem for many organizations is the volume of data from different channels, such as email, social media, and documents. This data might have valuable information that can be very helpful for a business if analyzed quickly. The primary hurdle is to cost-effectively extract/categorize the data carried in that volume of data.
The Category Classification model is one of the fundamental natural language processing models. We can identify tags in the text for sentiment analysis, spam detection, and customer request routing.
Curious about how the latest AI models can transform your data analytics with Power Platform? Join us at AlphaBOLD to dive deep into the power of AI-driven insights and make smarter decisions.
Example of a Category Classification Custom Model:
For this final example, let’s create a Category Classification Custom Model in Power Platform by following the steps mentioned below:
Log in to the https://make.powerapps.com portal.
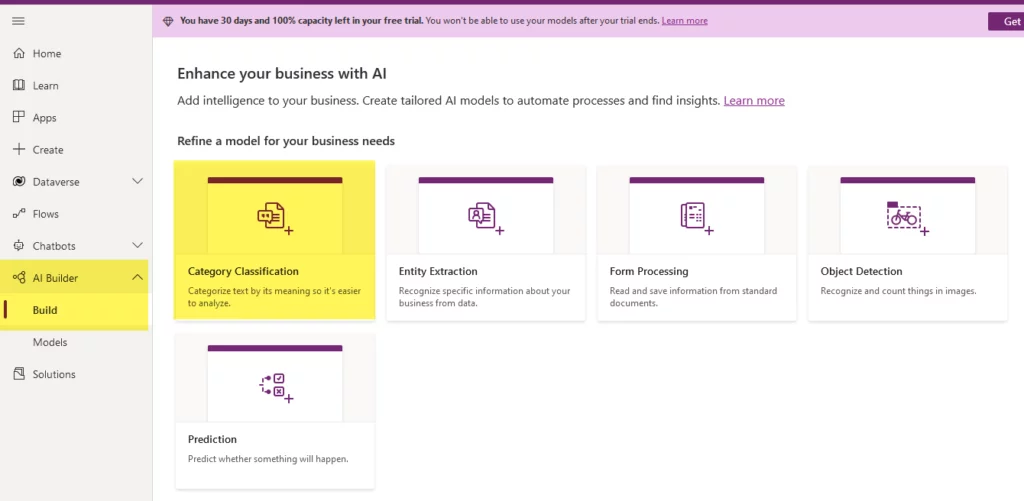
Click on the AI Builder> Build > Category Classification. The process is highlighted in the image below.
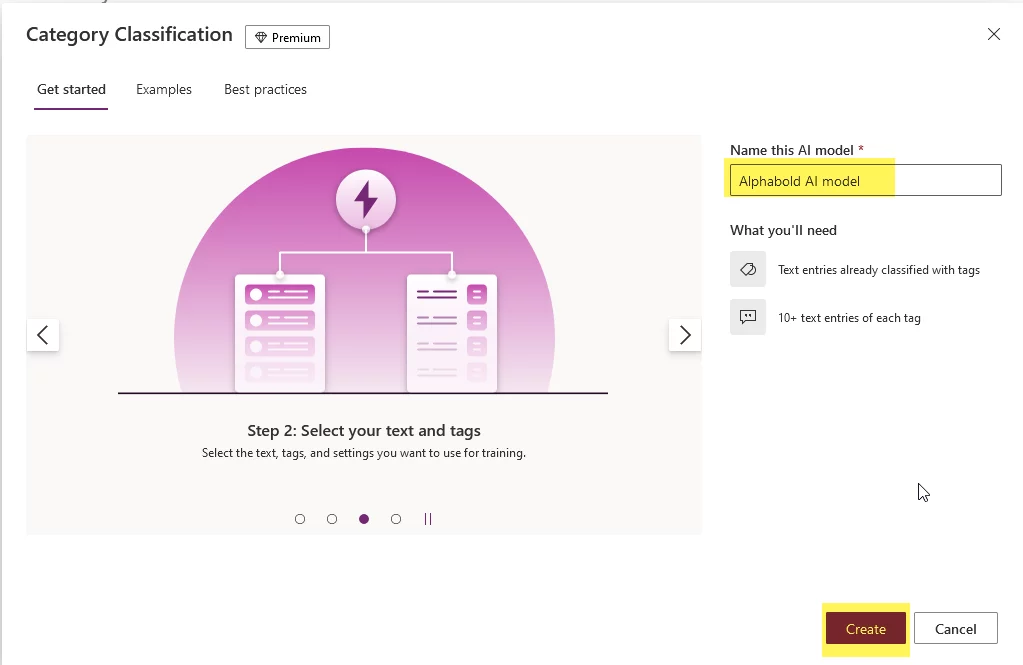
Give your AI model a name and click the ‘Create’ button.
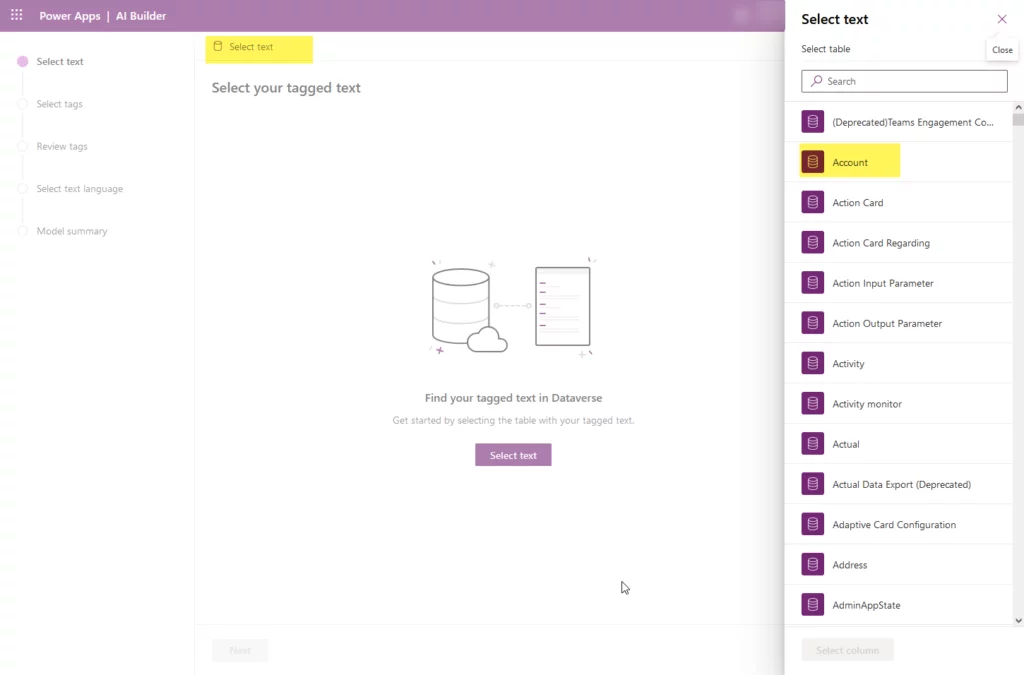
Now, a wizard has started. We need to click the ‘Select text’ button to give us the list of tables in the Dataverse.
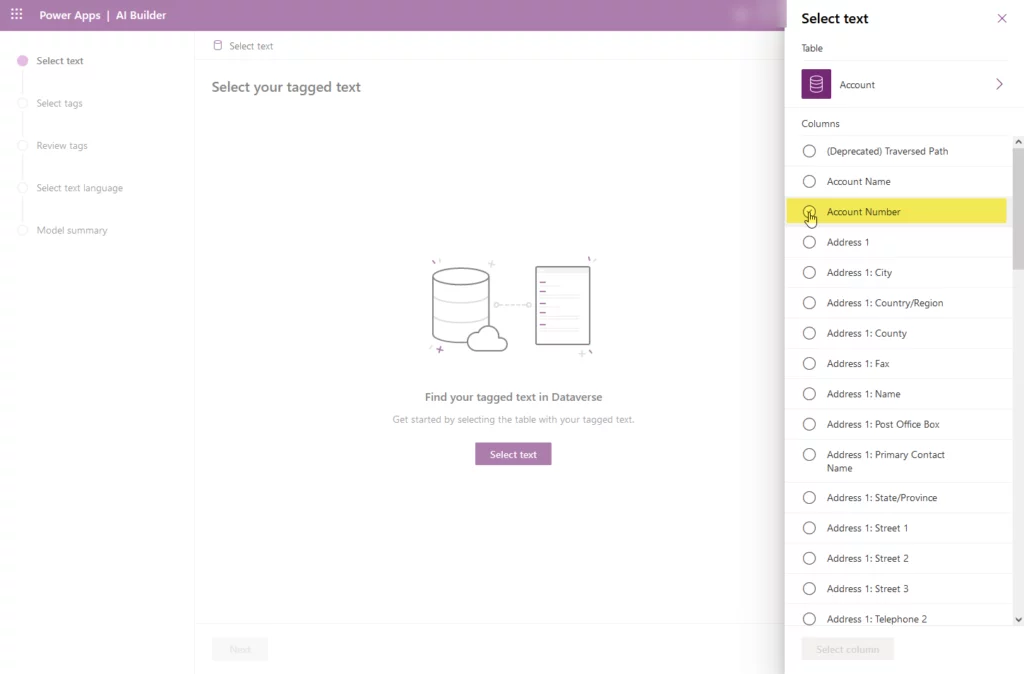
After selecting the table, we need to choose the option “Account Number” and then click the ‘Select’ column. After that, you will get the preview of data and then press the ‘Next’ button at the bottom of the screen.
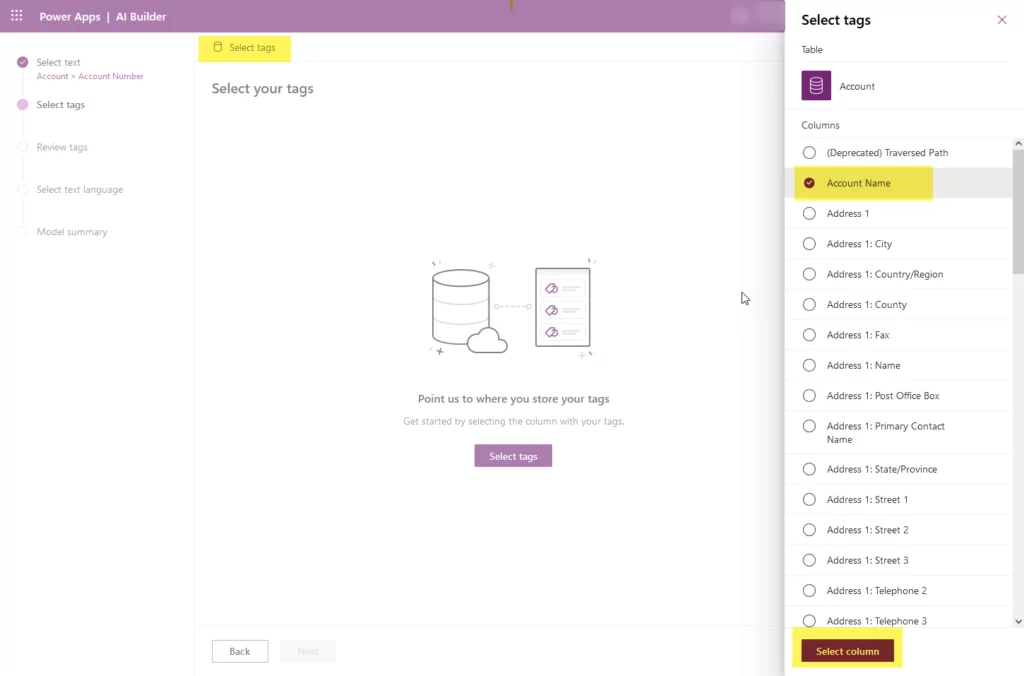
Now, you have to select the tags. Click on the ‘Select tags’ button to show the list of columns for the same table chosen in the previous step. In this step, we select “Account Name” as a tag. After that, click on the select column, and it will ask for the separator. If there is any in your text, then select “Open.” Otherwise, click “Next.”
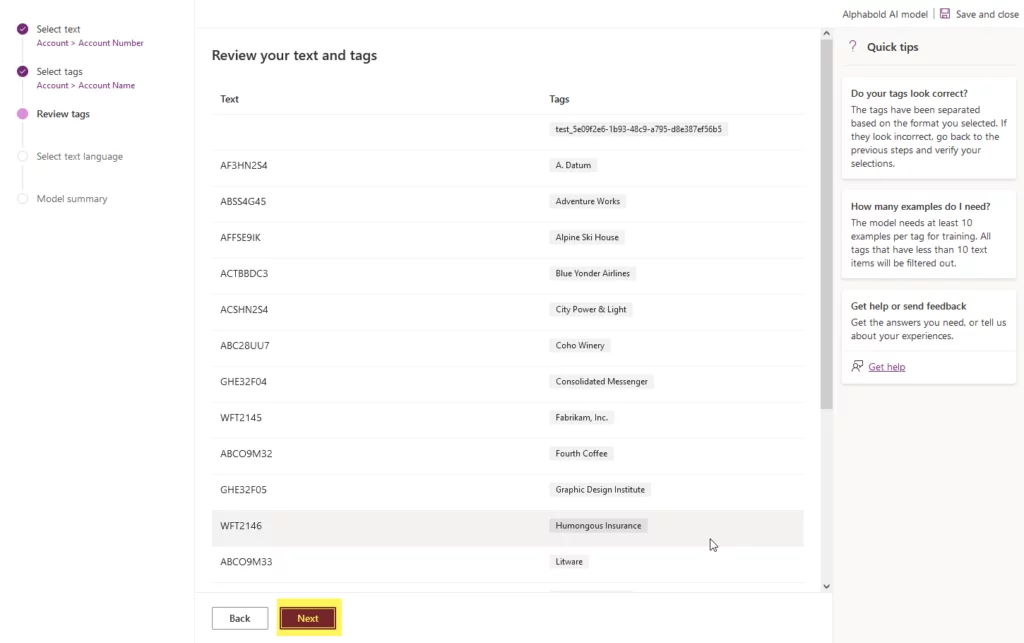
Now, it will give you an overall review. Check it and then click “Next.”
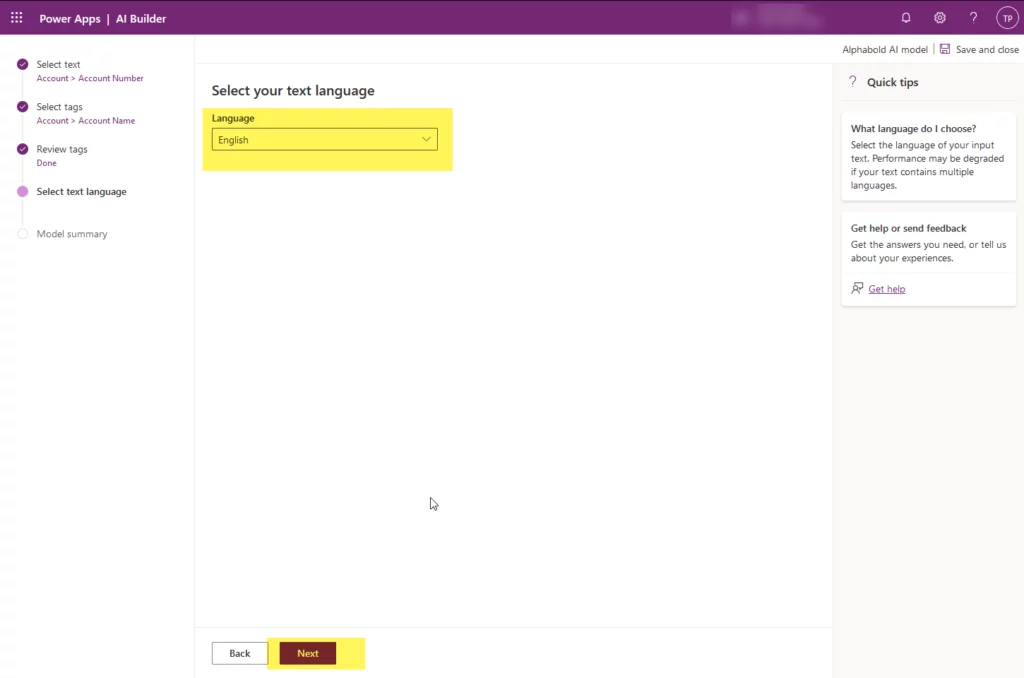
Select the language for this example. We are using “English” and then click “Next.” It will give you a model summary. After that, click “Train” at the bottom of the wizard.
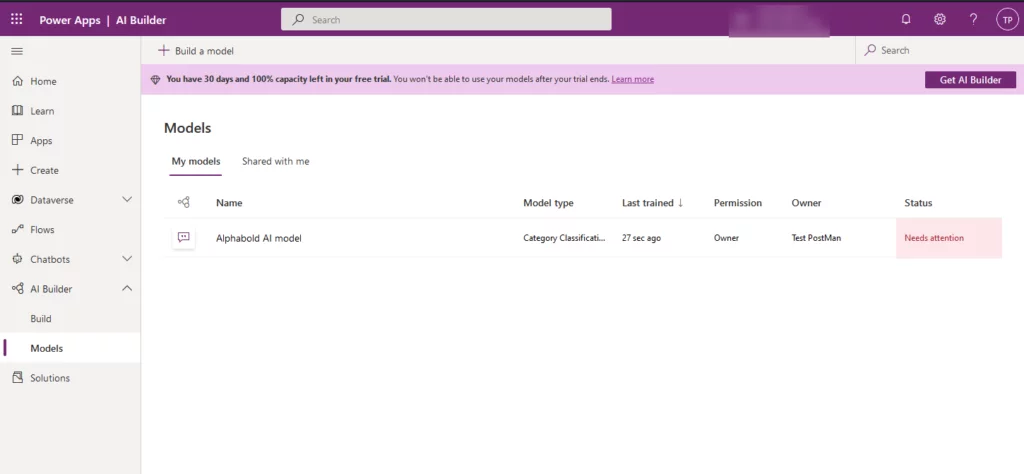
Your model is created. We can further train and finalize it.
Elevate your Data Analysis with Power BI and AI!
Start your journey with AlphaBOLD to elevate your data analysis. Together, we'll achieve breakthrough insights and efficiency.
This blog gives us a general idea of the AI model for data extraction and categorizing it. These models help organize the unstructured data into a structured one using tags and categories.