Client-side web parts are components that run inside the context of a SharePoint page, offering flexibility and customization. If you’re looking to build your first SPFx client-side web part, you’re in the right place. These web parts allow you to build with HTML and JavaScript and are compatible with both SharePoint Online and on-premises environments. Before diving into the steps in this blog, ensure that you’ve set up your SPFx development environment, as detailed in my previous post.
Let’s start the process of creating first client-side web part on top of SharePoint framework (SPFx).
Create a New Web Part Project for Your First SPFx Client-Side Web Part
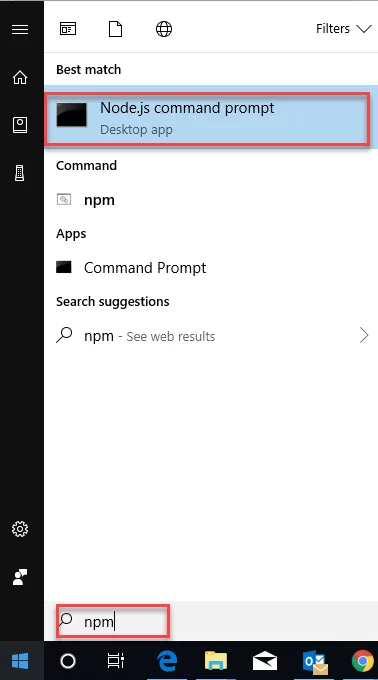
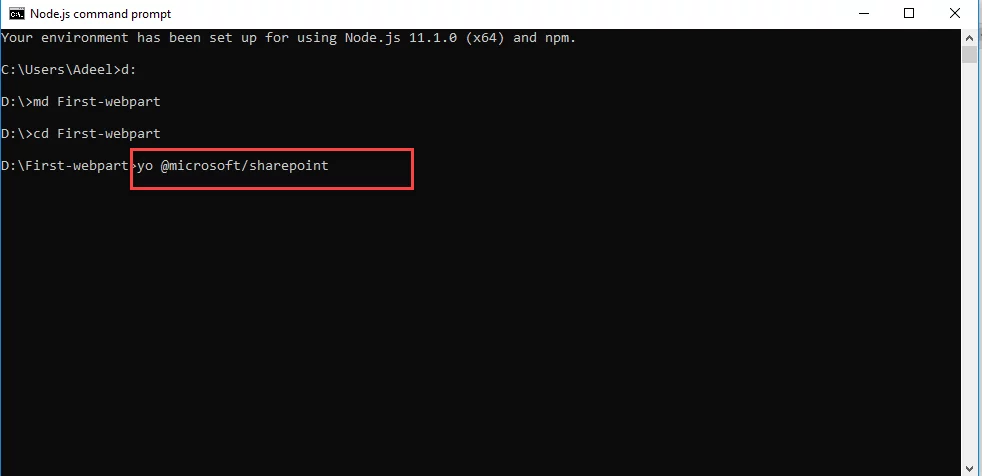
Open Node.JS command prompt from your system start menu.
Create a New Folder for Your First SPFx Client-Side Web Part in Your Favorite Location:
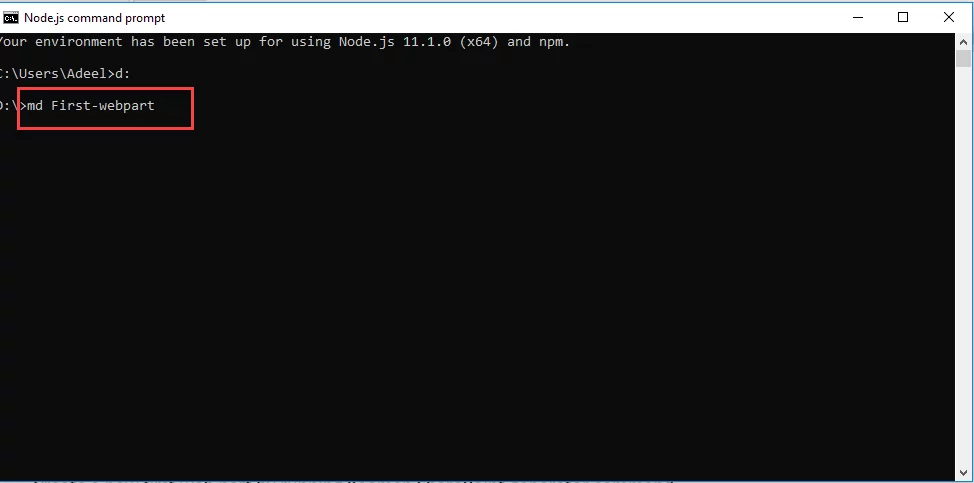
I will create new project directory “First-webpart” inside “d” drive by entering following command:
MD First-webpart:
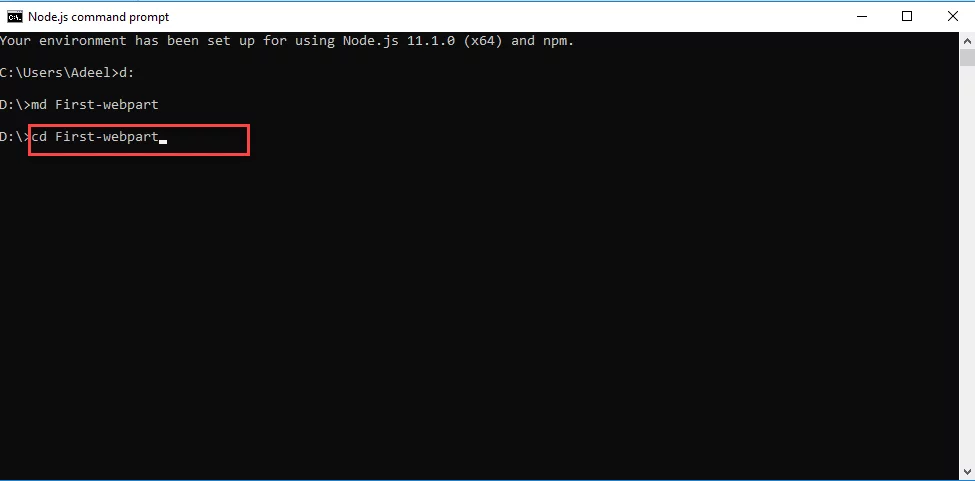
Go to Project Directory:
Enter following command to go to project directory
CD First-webpart:
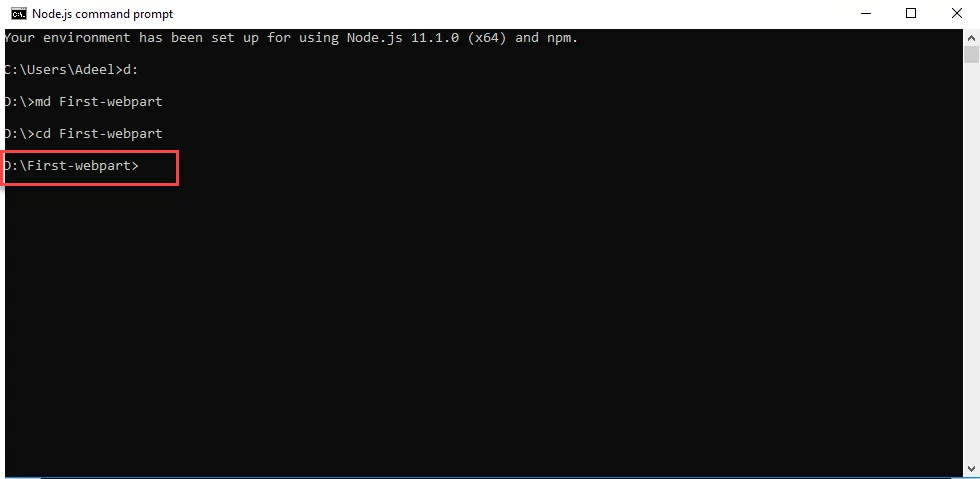
You can see in below screenshot that you are now at your project directory.
Create Your New First Web Part:
Enter the following command onto Node.JS command prompt
yo @microsoft/sharepoint
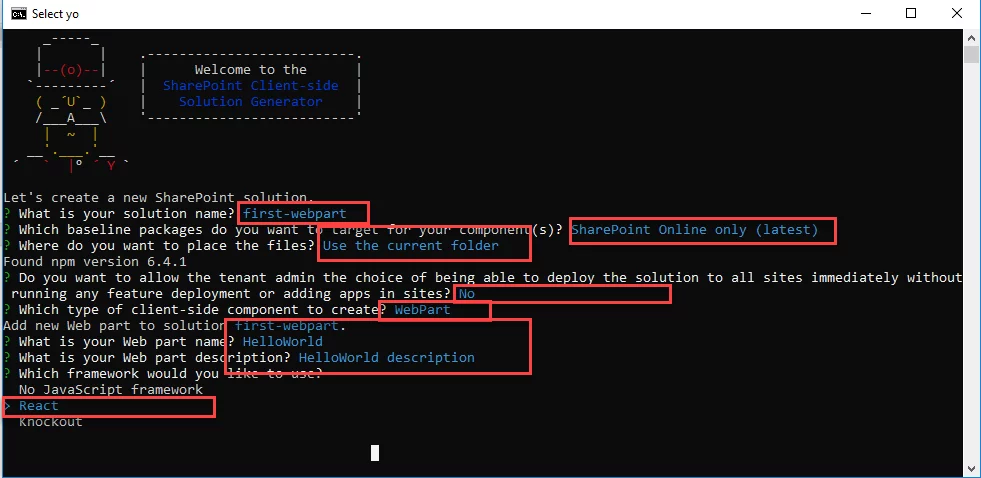
When prompted, enter the following Solution name.
Select SharePoint Online (latest)
Select N to allow solution to be deployed to all sites immediately
Select WebPart as the client-side component
Default web part name (first-webpart)
Default web part description (first-webpart description)
Accept the React as JavaScript framework.
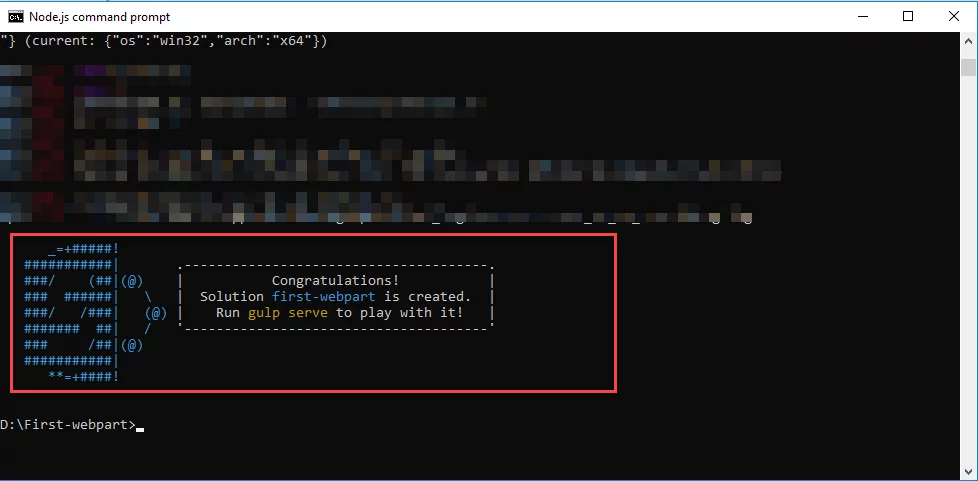
It will take few minutes to create your first web part. After successful creation, you will see a congratulation message like in the below given screenshot:
Streamline Collaboration with Custom SharePoint Solutions
Discover how custom SPFx client-side web parts can enhance your SharePoint environment. AlphaBOLD SharePoint consulting services provide tailored solutions that drive efficiency and collaboration across your organization.
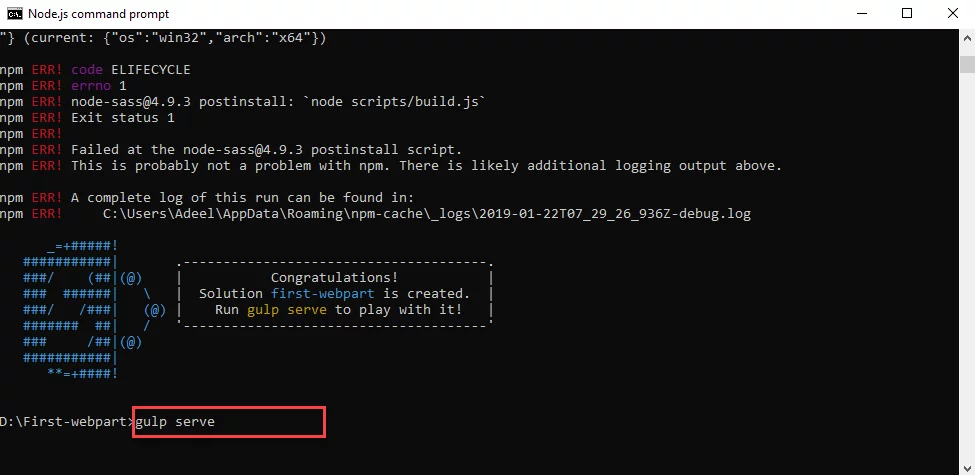
You can preview your web part even before deploying it to SharePoint. To preview your web part at localhost, enter following command onto Node.JS command prompt:
Gulp-serve
Note: SharePoint development tools use gulp as the task runner to handle build process tasks such as:
Bundling and minifying JavaScript and CSS file.
Call the bundling and minification tasks by running tools before each build.
Compiling SASS to CSS
Compiling TypeScript files to JavaScript.
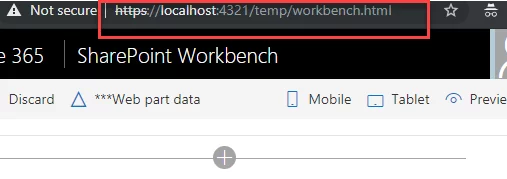
After successful run of “gulp serve” command a workbench page will be open in browser
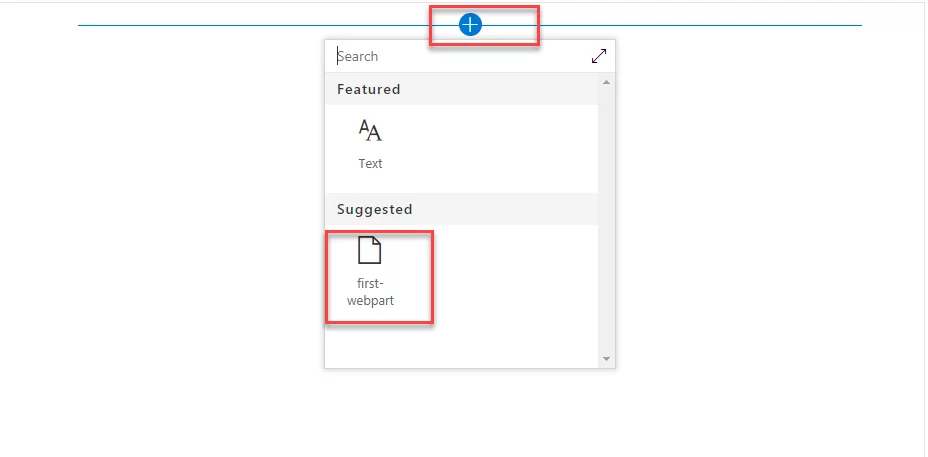
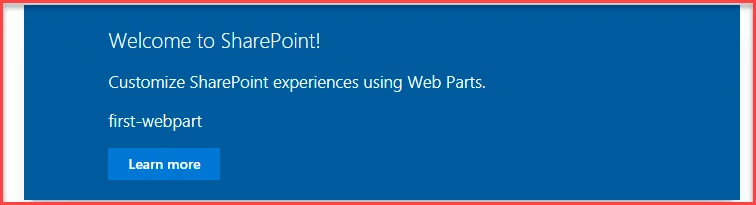
Click on “+” sign and click first-webpart. You will notice that the web part is added on the page.
That’s it your first Spfx client-side web part is added on the page.
Transform Your Digital Workspace with SPFx and SharePoint
From design to deployment, our SharePoint experts will help you build powerful SPFx web parts that integrate seamlessly into your SharePoint environment, enhancing your organization’s productivity.
We can create new client-side web parts by running few commands onto Node.JS command prompt and, we can test and preview web parts without deploying on SharePoint. In next blog post, you will see web part deployment steps on SharePoint tenant and how you can add deployed web parts on SharePoint modern page.
If you have any question or queries, do not hesitate to reach out to us!