
A couple of years ago, we wrote an article about how you can track promotions in NetSuite and what native tools are available in the system (see: Navigating NetSuite Promotion Tools). At the end of the blog, we mentioned that we had developed AlphaBOLD’s own functionality to apply discounts on orders.
In this second installment of the promotion series, we will walk you through our custom promotion solution and how it can help you manage discounts and allowances.
How it works
Our customization consists of two components:
- Discount Mapping Setup record allows the user to define how discounts will be applied to Sales Orders.
- Script Execution will interpret the mapping records and apply discounts if the matching criteria are found on the order.
Discount Mapping and Handling
As part of the solution, we built a custom record that defines how discounts will be applied to transactions.
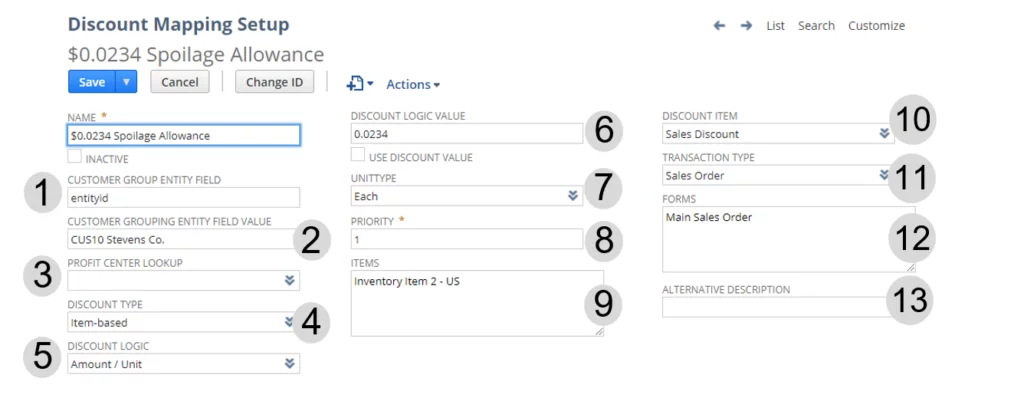
As per the above image, let’s review how the Discount Mapping Setup record can be configured.
- Customer Group Entity Field: This is probably the most important field on the record. Here you would identify the field on the Customer record used for promotion assignment or promotion targeting. Note, the promotions can be assigned to one or more customers. For example, if you want to assign it to one customer, you will use the customer record field ‘entityid’ as your identifier. By contrast, if you want to assign a promotion/discount to multiple customers, you could use the field ‘category’ to target customers that belong to a specific Customer Category. You could also use custom fields or segments as long as you identify that field id.
- Customer Group Entity Field Value: After you set the ‘Customer Group Entity Field,’ you must specify the entity for which this promotion is applicable. For example, if in field #1 you picked ‘entityid’ in field #2, you will enter the name of your customer, as shown above. The solution will match up the customer selected on order to the ‘Discount Mapping Setup’ record using this value.
- Profit Center Look / Class: This field offers additional target flexibility. For instance, if you want to apply discounts only to item lines that carry a specific class (NetSuite’s native financial segment), the look-up value can be defined here.
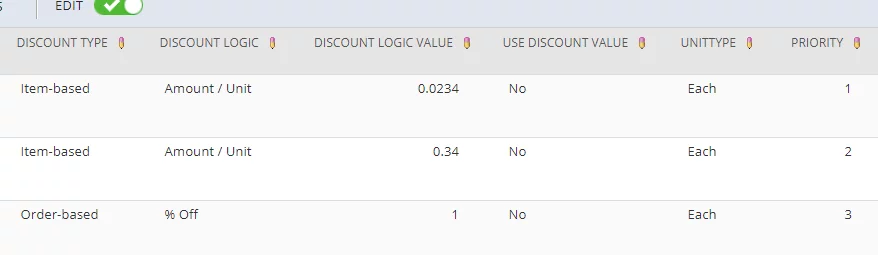
- Discount Type: Our solution offers two types of discounts: Item-based, Order-based.
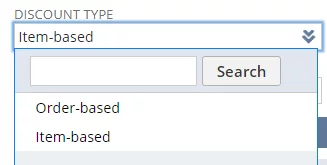
Even though the process will apply discounts on the line-level of your sales transaction, Item-based discounts target (look for) specific products on your transaction, while the Order-based logic applies a specific ‘amount off’ or ‘% off’ to the entire order.
5. Discount Logic: Now that you have defined the discount type (see step 4), you must specify how the discount will be applied to your transaction(s). In this field, we offer three options: %Off, Amount Off, Amount/Unit.

All three options work for ‘Item-based’ promotions while only ‘% Off’ and ‘Amount Off’ will apply to ‘Order-based’ promotions.
6. Discount Logic Value: Here, you define the discount dollar amount or % off, dependent on the Discount Logic (field #5) you selected.
7. Unit Type: This field is relevant for situations where per/unit discounts are applied to transaction lines. Let us say we selected the ‘Amount/Unit’ value in the ‘Discount Logic’ field (field #6). In the ‘Unit Type’ field (field #7) we define whether the discount value is to be applied to eaches (i.e.: $0.34 x 10 eaches = $3.40) or to Case of 10 (i.e.: $0.34 x 1 = $0.34).
8. Priority: When you have several promotions that apply to one or a group of customers, you need the ability to define in what sequence these discounts will be applied to your transaction lines. The priority field is where you define that sequence. Note, ‘1’ will have the highest priority.
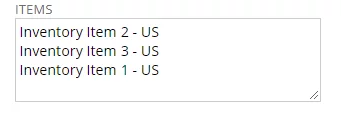
9. Items: For any ‘Item-based’ promotions, you must select SKUs to which your discounts will apply. You can select as many products as needed.
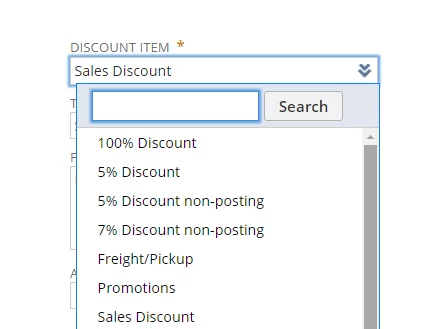
10. Discount Item: This functionality will not work unless you select a ‘Discount Item’ in field #10. The discount item is set by the solution where appropriate, and it is how the discount amounts will post the appropriate GL account(s). Here you will select the relevant discount item.
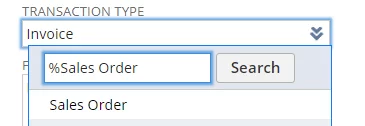
11. Transaction Type: We made the solution flexible to allow you to select sales transactions on which this functionality will execute (i.e.: Sales Order, Invoice, Quote).
12. Forms: You can also select the custom forms on which this solution will run if you do not want it to run on all forms.
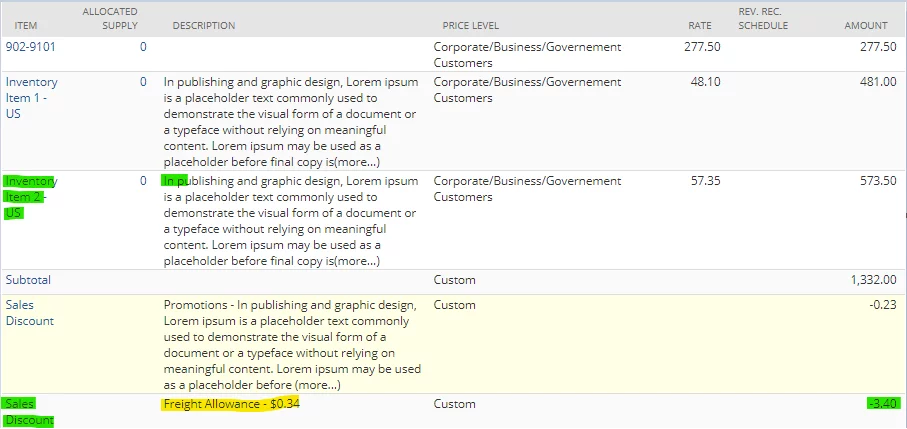
13. Alternative Description: By default, when setting discount items (for Item-based discounts only), the solution will use the description that is listed on the related product line; see below.
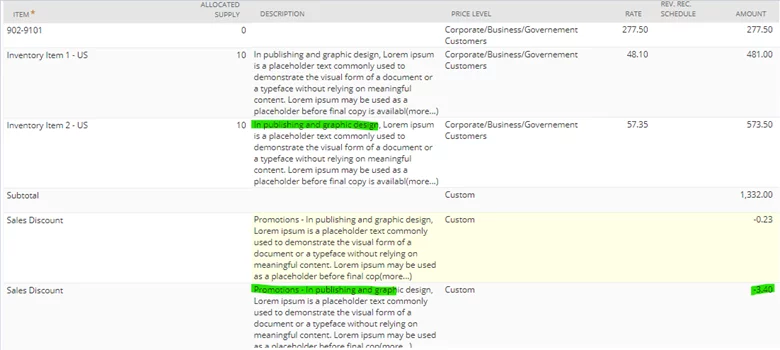
When you populate the ‘Alternative Description’ (field #13), whatever is on the Discount Mapping Setup record will be populated when the discount line is added; see below.
Script Execution / Demo
Thank you for patiently reading through discount mapping and handling notes. Now, let us demonstrate to you how the discounts/promotions will be applied. Please review our short video below.
As demonstrated, the configuration of promotion records is simple (Discount Mapping Setup record). As soon as this record is created, the promotion will automatically become active on a designated transaction type. It is important to note that you can adjust the Discount Mapping Setup record, edit and save the order and the adjusted setting will be re-applied to the transaction.
The solution is also very flexible, and it applies to almost any promotion scenario. If you think that this is something that can help you with your promotion tracking challenges and / or EDI integrations, do not hesitate to contact us for a free consultation.