If you are looking to migrate your WordPress site to the WP engine, then this blog is meant for you. WP Engine is the most managed WordPress hosting platform on the market. As the first company to market a WordPress-only hosting solution, WordPress has built an extraordinary platform that is used across the globe.
In this blog, we will discuss how you can quickly migrate your WordPress site to WP Engine! Before we begin, please make sure that you have purchased your WP Engine hosting plan and signed in. Once you have signed in, and your account is set up, you can get started on the migration.
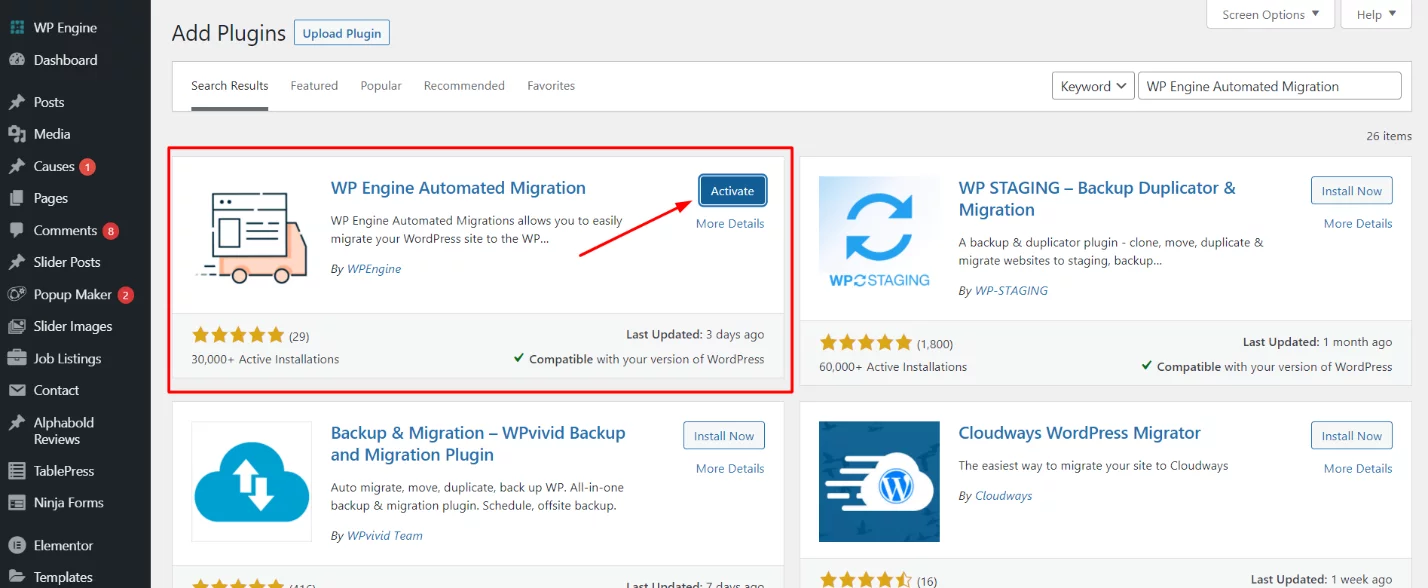
Step 1: Install & Enable WP Engine Migration Plugin
- Here is how you can migrate from the WordPress site to WP Engine: Go to Plugins => Add New.
- Search for “WP Engine Automated Migration.”
- Click on Install Now.
- Click on Activate.

Step 2: Generate SFTP Users
Go back to your WP Engine account.
1. Click Site Migration
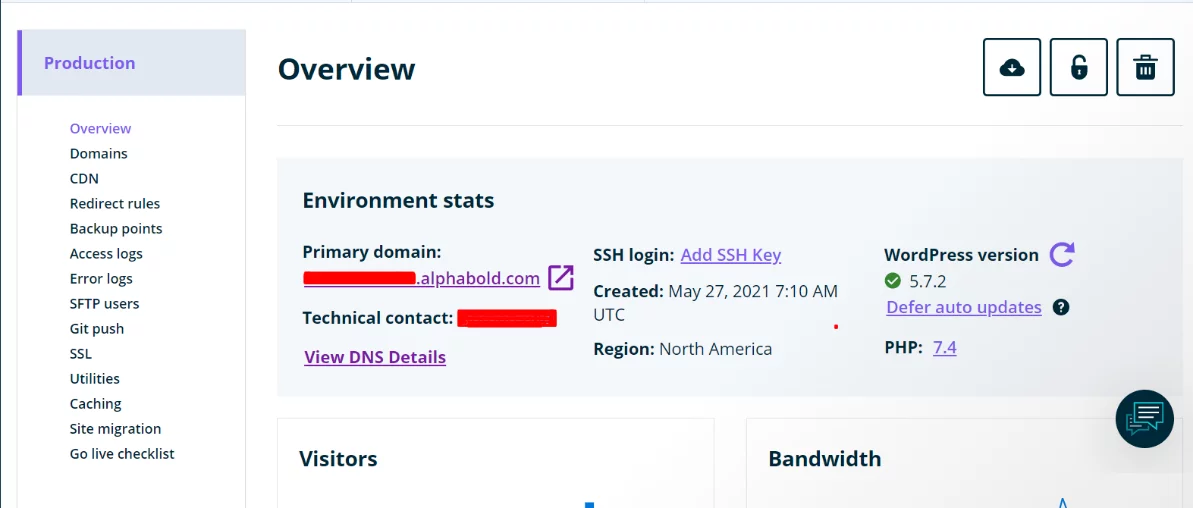
2. Click Generate new password.
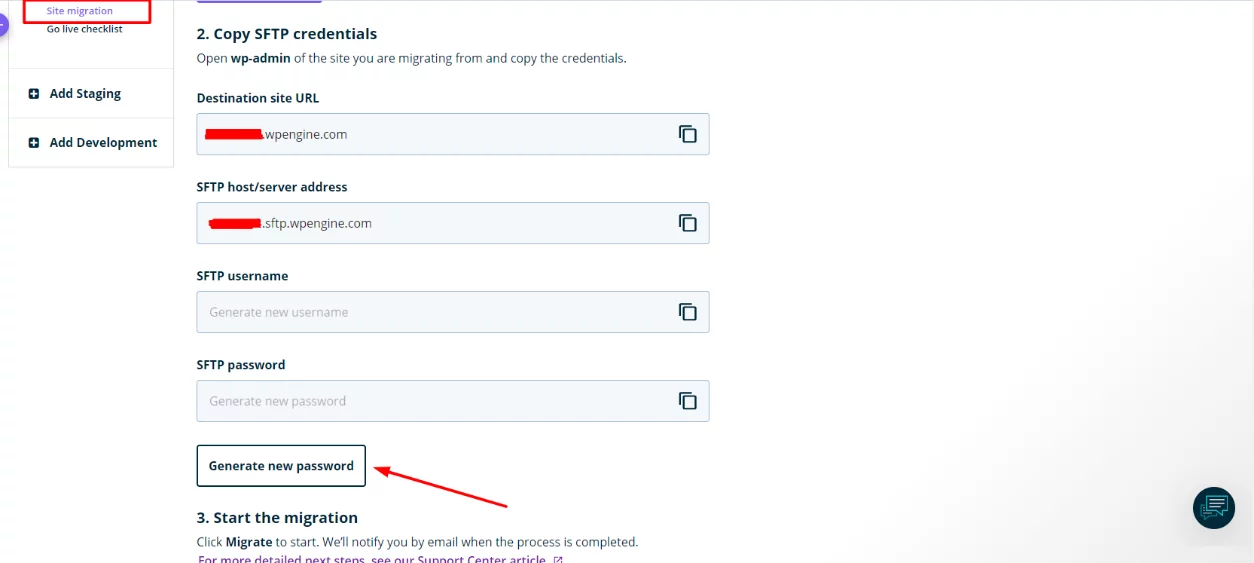
Step 3: Add SFTP Credentials to Plugin
In this step, you will go back and forth between your WP Engine account and the WordPress administrator of the site you want to migrate to.
You will need to copy the SFTP data to your WP Engine account and log in to the migration plugin you installed in the first step.
1. Copy every element from your WP engine and paste it into the appropriate field of the migration plugin.
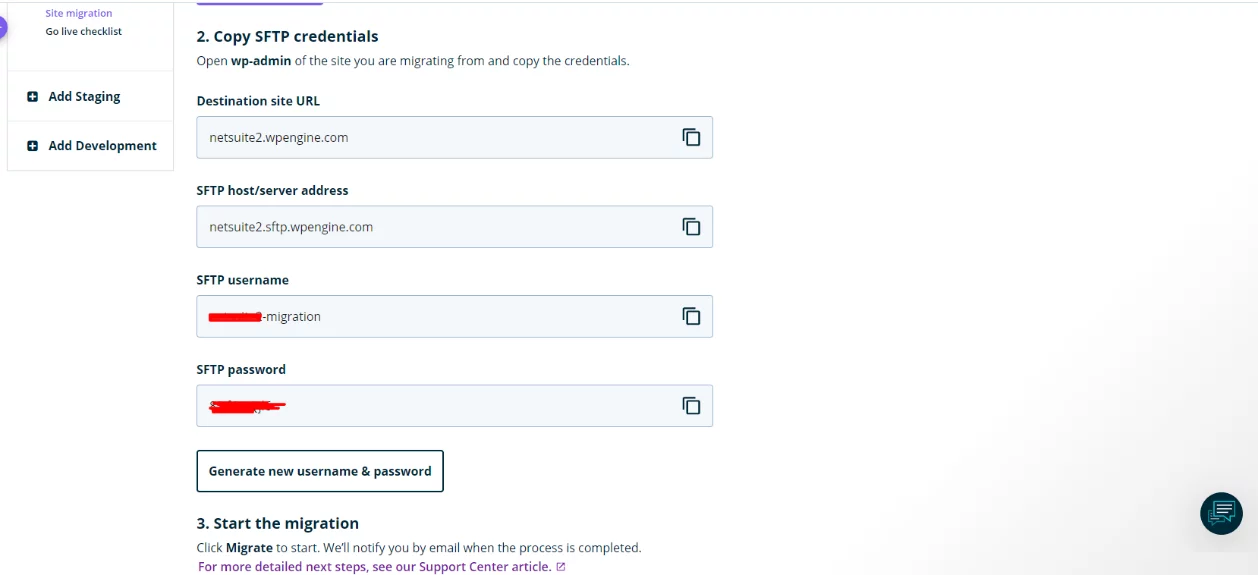

2. Click Migrate
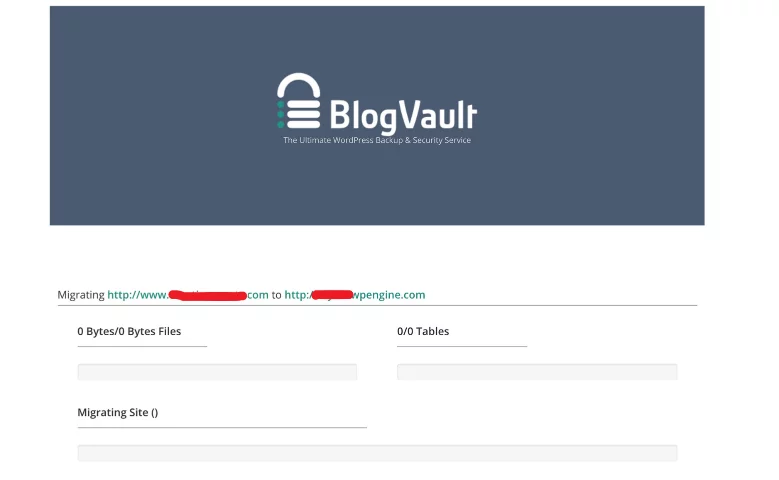
After clicking Migrate, you will be taken to a new screen that will display BlogVault at the top of the page. This is where the magic starts to work!
Step 4: Sit Back and Wait
The migration will take place in two parts:
Part 1: The Backup
BlogVault will create a backup for the database and the site files. You can watch this in real time as the process progresses, or you can wait for BlogVault to email you when the migration is complete.
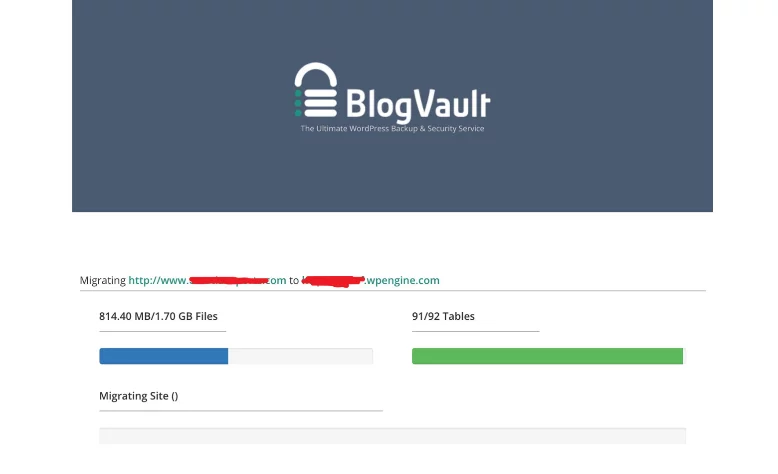
Part 2: Migrate WordPress Site
Once the backup is complete, BlogVault will use it to migrate your WordPress site to a WP Engine hosting account under a temporary domain.
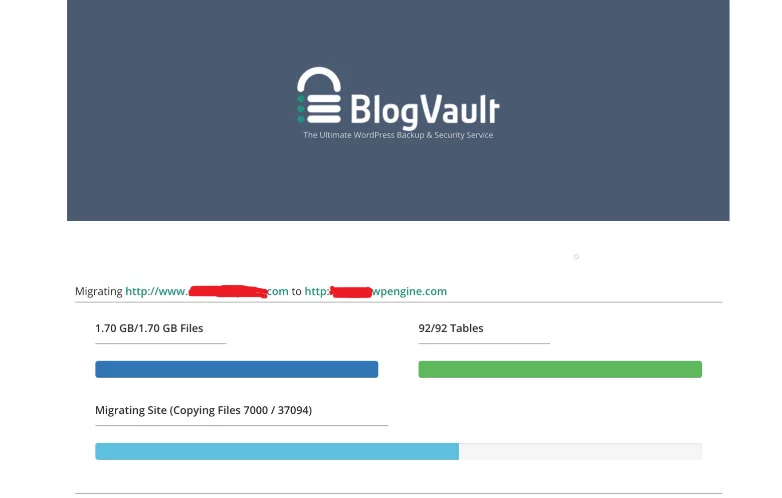
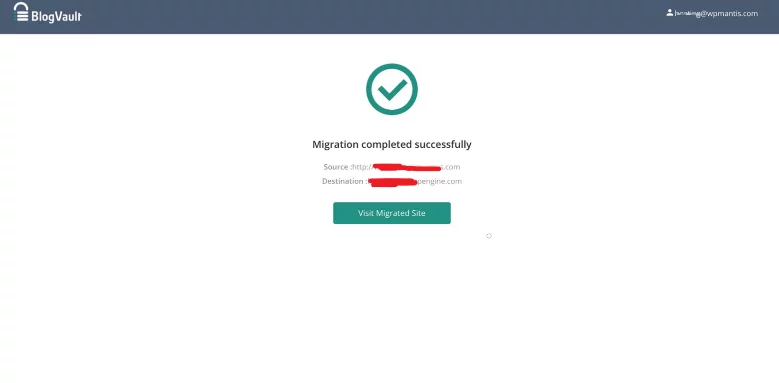
When the migration is complete (or if it fails), WP Engine / BlogVault will send you an email, and the progress page, while you watch, will update accordingly.
Next Steps
1. Verify Migration of WordPress Site to New Host
You will want to click on your pages just to make sure you are not having any issues with the migration.
If there are any problems, you can always try the migration again. I recommend that you contact the WP Engine technical support before trying another migration. They can also provide you with some suggestions to ensure the success of your next attempt.
They offer 24/7 live chat:

2. Create A New Backup
This step is optional but can save you a lot of time if something goes wrong after the migration is complete. Instead of resetting the migration, you can simply restore your backup.
- Go to Backup Points
- Click Create backup
- Enter your email address.
- Click Create backup

Once the backup is complete, you will receive an email notifying you.
3. Redirect Your Domain
Do not complete this step until you are sure the migration was successful!
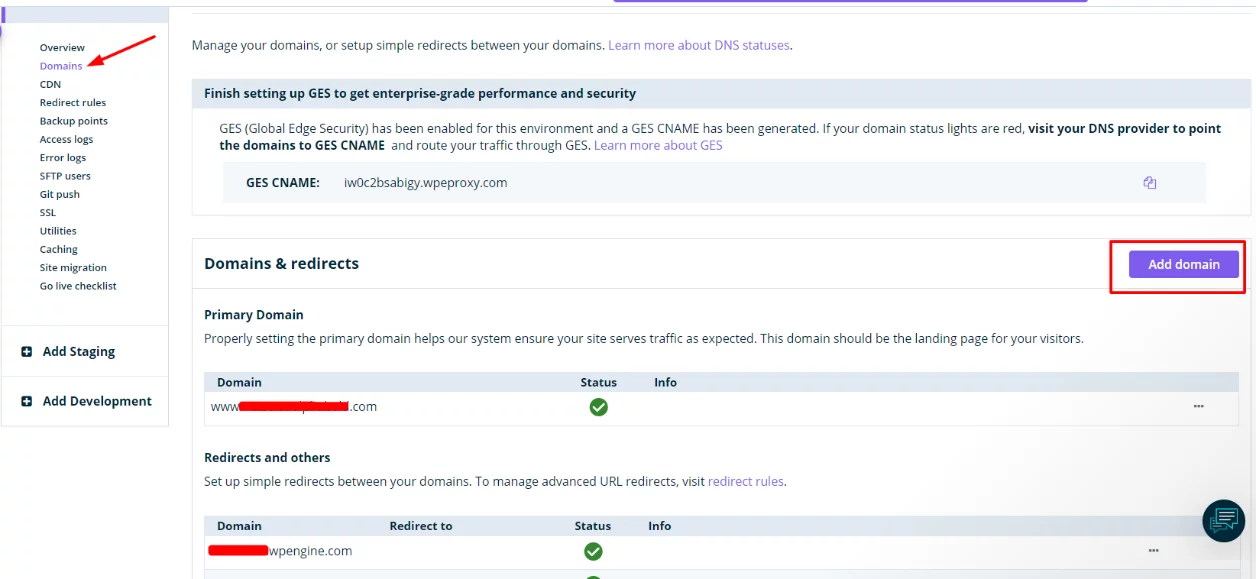
- Go to Domains.
- Click Add domain.
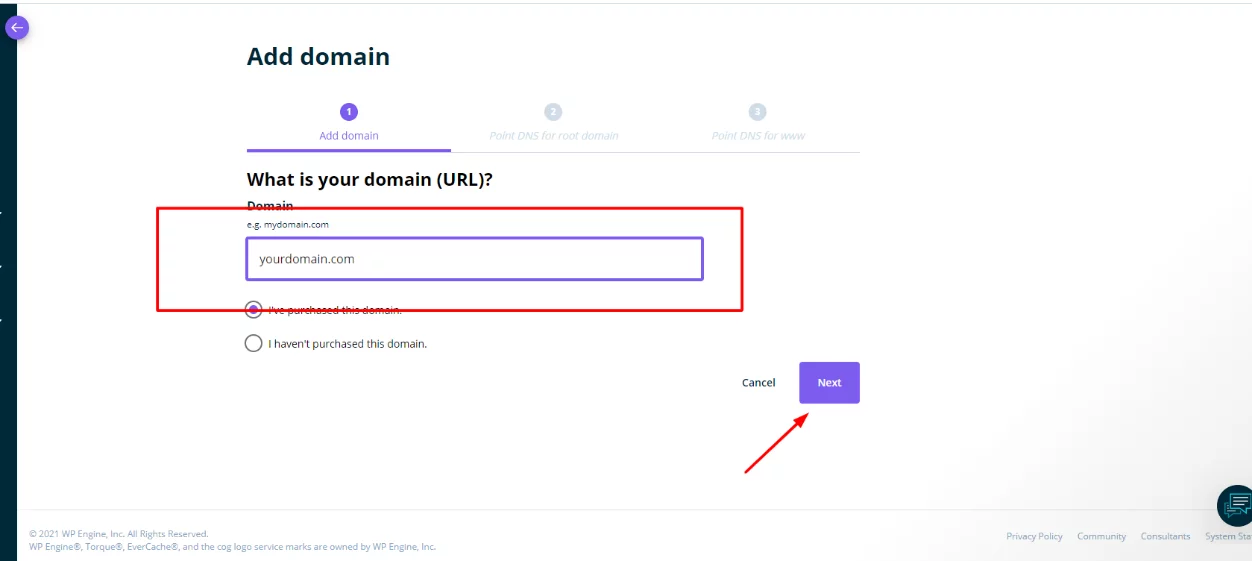
3. Enter your domain name.
4. Click the Next button.
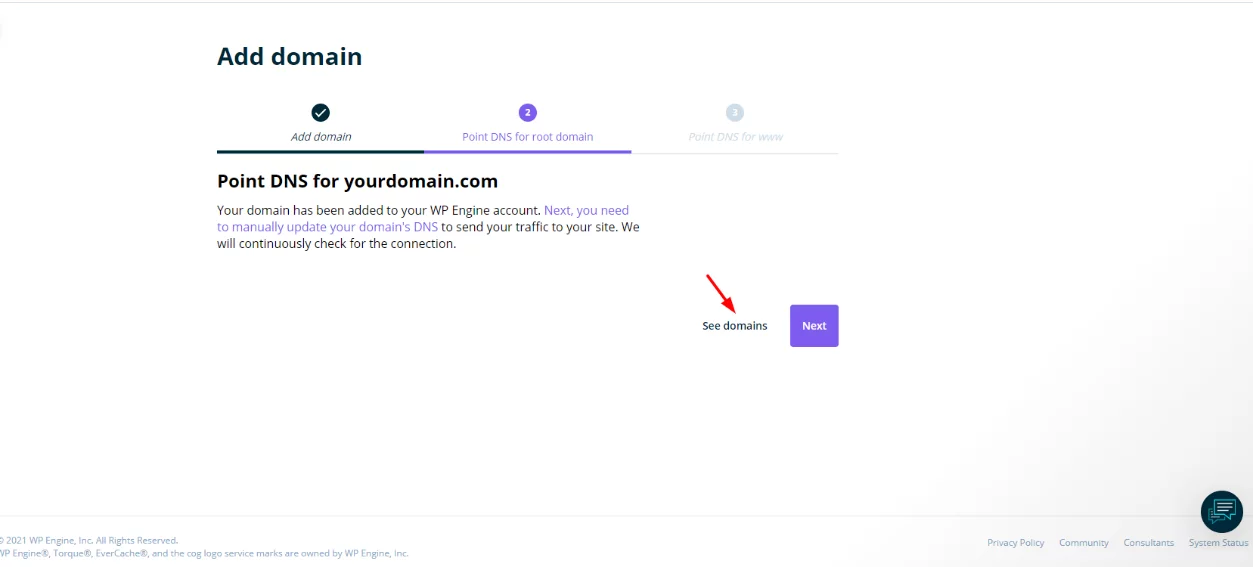
5. Click See domain
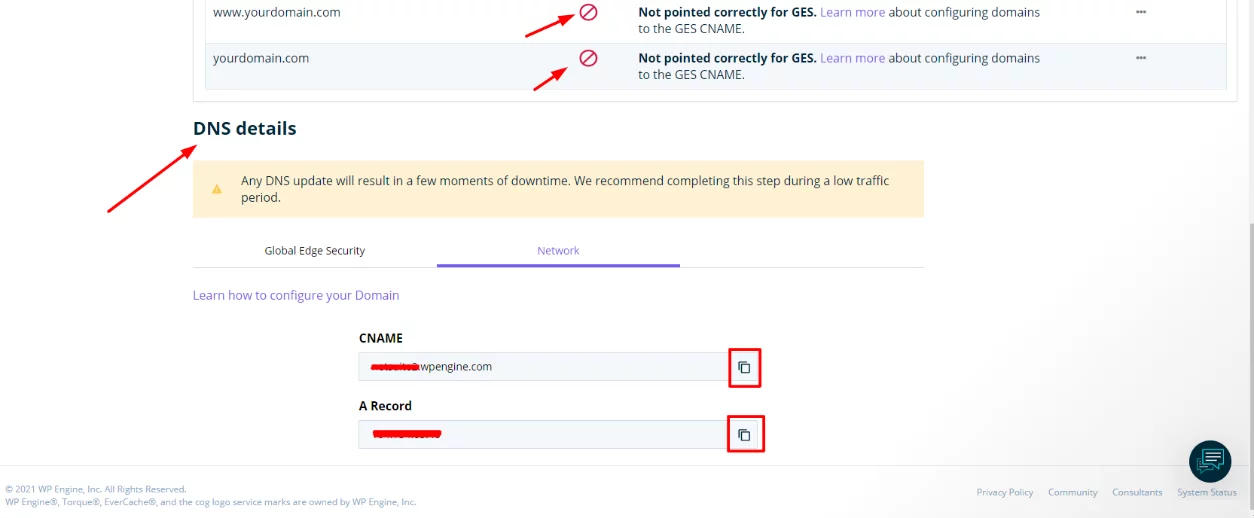
Scroll down to the page to see your DNS details. The preferred method of pointing your domain to WP Engine is with CNAME, but not all domain registries, such as GoDaddy, support this method and you will need to use the A record and IP address.
6. Click the copy icon for your preferred method.
For the last part of this step, you will need to log into your domain registrar account and update your DNS records. DNS changes can take up to 12 to 24 hours. It is recommended that you avoid making any changes to your site before this time.
Explore WP Engine's Cutting-Edge Solutions
Conclusion
There are multiple ways to move your site to WP Engine, as well as a long list of migration plugins you can use. However, this process was originated by WP Engine and is the most efficient and effective way. Additionally, this process is time consuming if your website has a lot of data. We have migrated sites to WP Engine along with other solutions, but we have never had a failed migration using the WP Engine migration plugin.
If you have questions about this blog, please reach out to us using the comment box below!