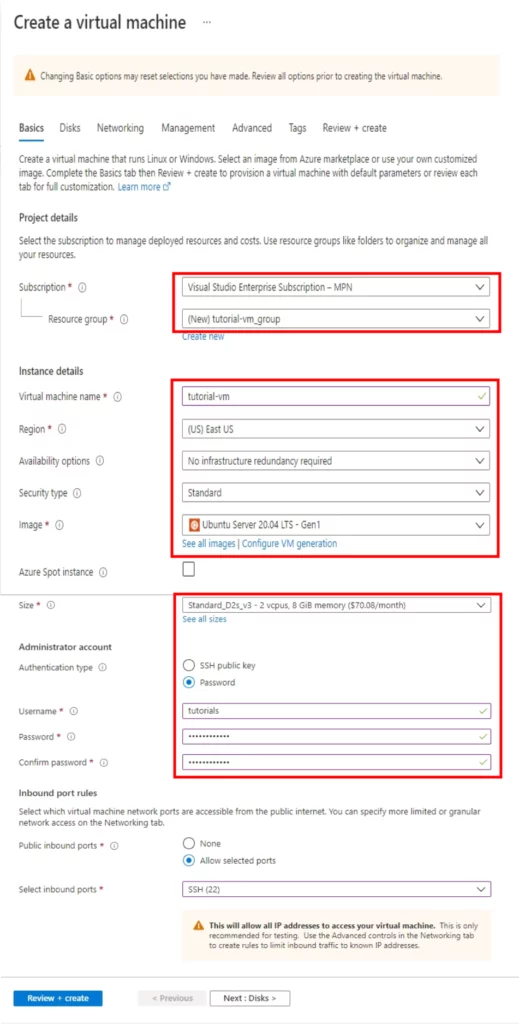
This blog introduces you to the concept of VMs and publishing a flutter web app on Azure virtual machines using a Linux environment. Virtual machines are one of the most popular places to publish apps. A Virtual Machine gives you the flexibility of virtualization without having to buy and maintain expensive hardware. Typically, you choose a VM when you need complete control over the computing environment. Azure VMs gives you more features for monitoring your VMs usage and several types ofon-demand, scalable computing resourcesthat Azure offers. Azure Virtual Machines gives you the flexibility of virtualization for a wide range of solutions with compatibility of Linux, Windows Server, SQL Server, Oracle, IBM, SAP, and many more.
Build Flutter Web App
Let’s dive into the deployment of the app. We can build the flutter app by putting this command in the terminal. This command will generate a web version of your flutter app.
$ flutter build web
Copy the “web” folder from “project\build” and paste it on the desktop or your suitable location.
Unlock the Full Potential of Azure
Azure Virtual Machines offer immense power and flexibility. If you're ready to harness the full potential of Azure and take your web apps to new heights, we're here to guide you. From deployment strategies to optimizing Azure resources, we have the expertise you need.
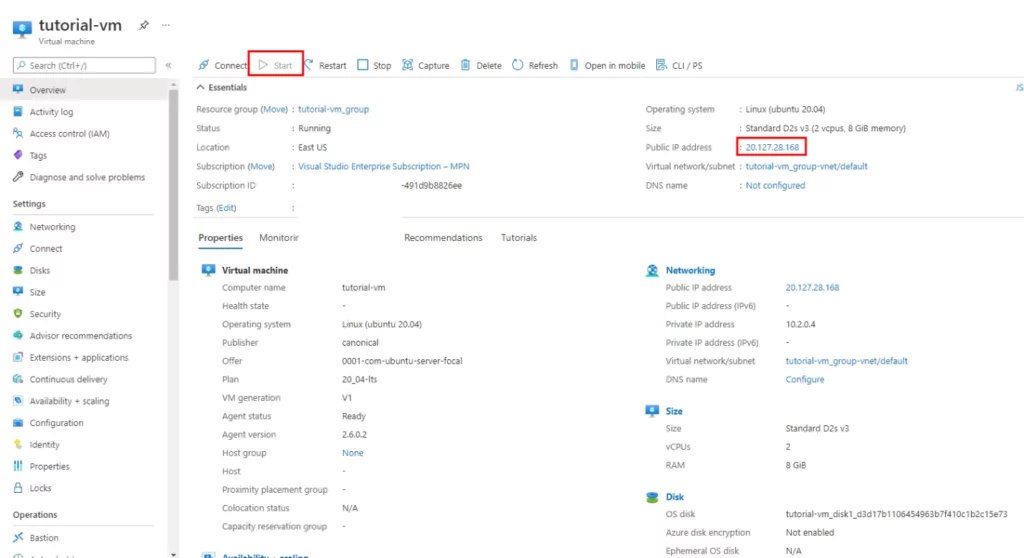
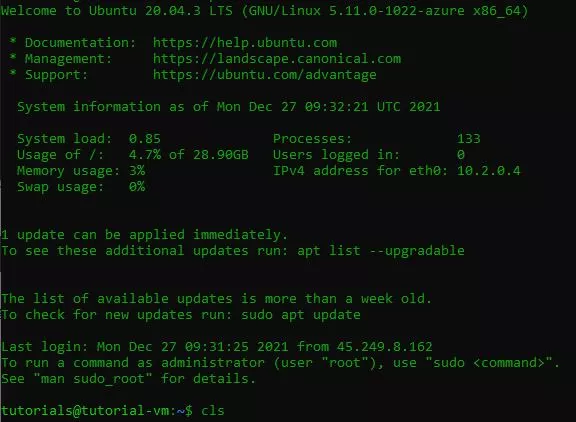
After the correct password, you can access the VM through the terminal.
You will then see the elcome screen of ubuntu VM.
Install Apache Server:
Install apache2 server in VM by using these commands.
$ sudo apt update
$ sudo apt install apache2
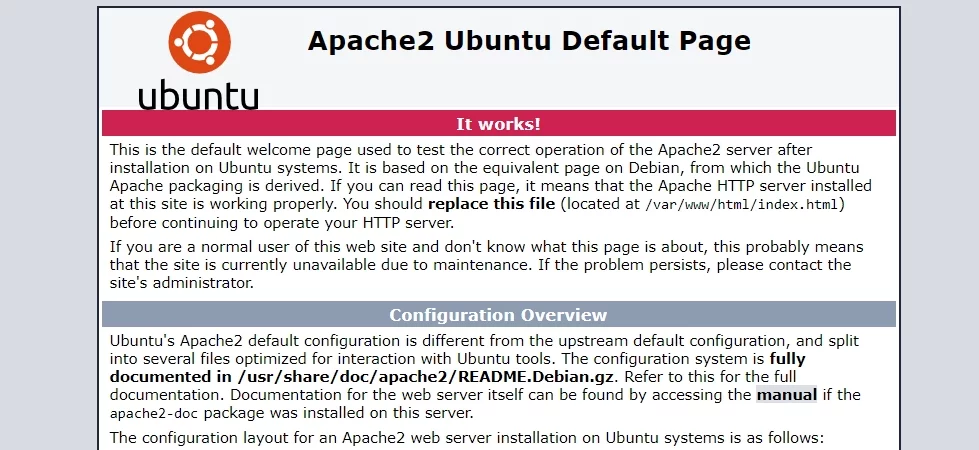
Now paste your machine IP address in the browser search bar and you can see the apache2 server default page which means your apache server working perfectly. In case of any problem review all the above steps.
For granting permissions run these commands in the Virtual Machine terminal.
$ sudochown -R username /var/www/
$ sudochmod -R 755 /var/www
Upload Files To Virtual Machine :
In your local computer or local machine run the “scp” command. The “scp” commandis responsible for copying files or directories between a local and a remote system or between two remote systems.
#//Add Virtual Host document root location in config file
<VirtualHost *:80>
DocumentRoot /var/www/flutter-web #// VM application folder
ErrorLog ${APACHE_LOG_DIR}/error.log #// VM error logs
CustomLog ${APACHE_LOG_DIR}/access.log combined #// VM logs
</VirtualHost>
Enable Created Host Files:
Enable tutorials conf file.
$ sudo a2ensite tutorials.conf
Disable default configuration.
$ sudo a2dissite 000-default.conf
Restart the apache2 server to reflect the changes.
$ sudo systemctl restart apache2
Partner with Us for Web Development Excellence
Ready to elevate your web development game? AlphaBOLD is your trusted partner for achieving excellence in web development. Whether it's deploying web apps, optimizing performance, or implementing cutting-edge solutions, we're here to empower your projects.
In this blog, you learned the basics of Virtual machines and the advantages of azure Virtual Machines. You also learned how to upload files and configure flutter web app in the Virtual Machine. In the next blog, we will learn about the deployment of flutter web with node.js and mongo in a single virtual machine.