Instead of using “PowerApps Customized Forms” in SharePoint, we can use the JSON formatting to create conditions, i.e., show/hide fields and change the structure of Input fields. It helps us avoid using PowerApps, and we can perform the functions quickly by using JSON formatting.
We will create an “Issue Tracker” list in this demo and apply JSON formatting to it.
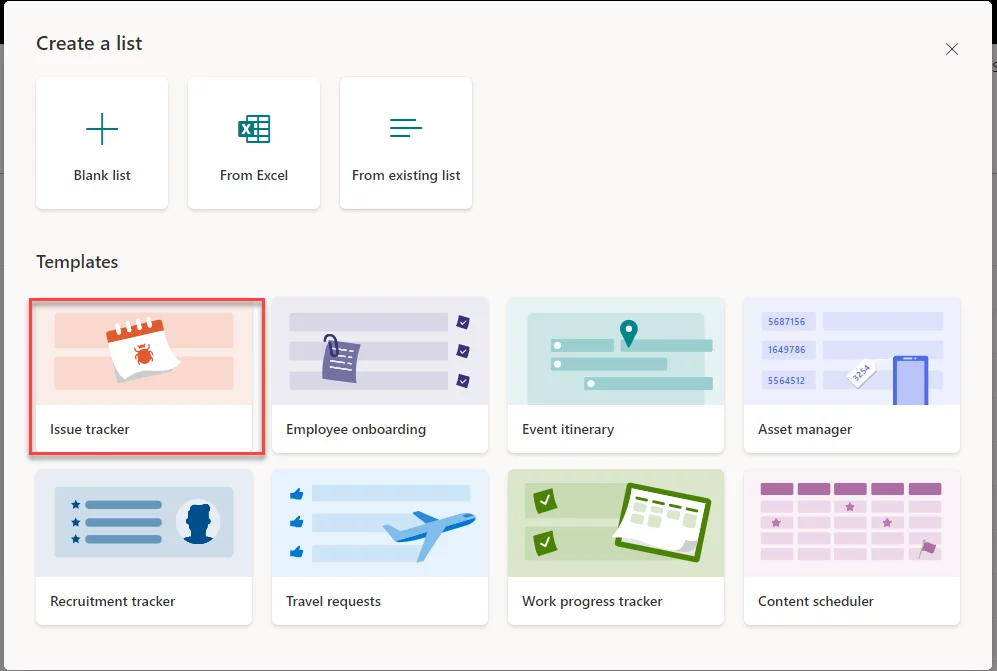
For this demo, we are going to use the “Issue Tracker” template List.
Follow the Below Given Steps to Create the List
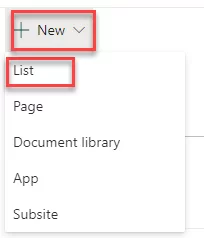
Click on the ‘New’ option and select the ‘List’ from the drop-down menu to create a new list.
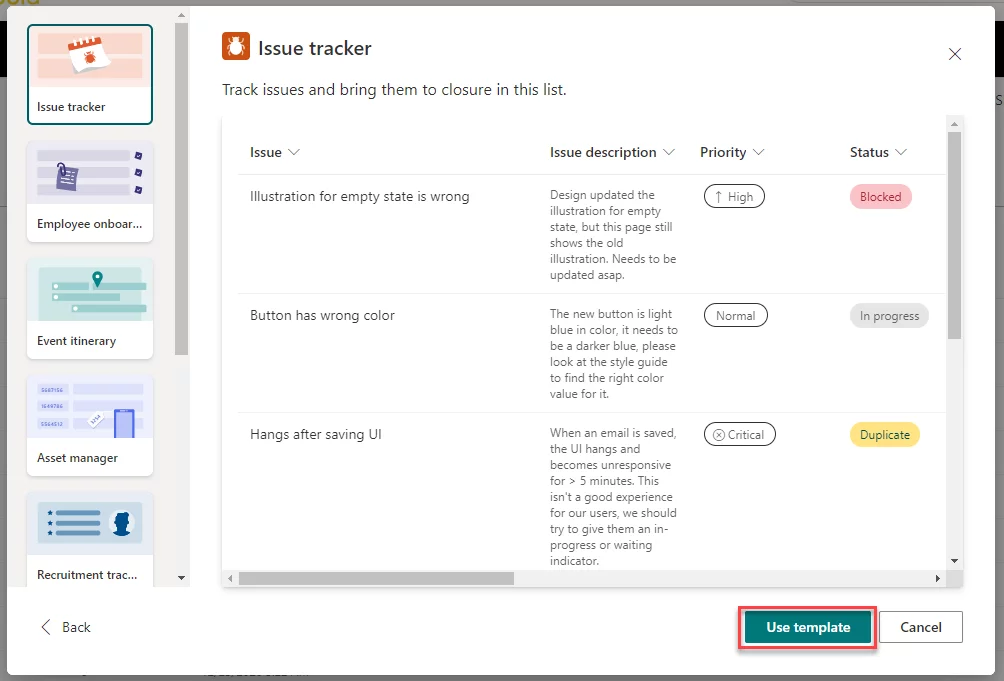
Create a list using the template “Issue Tracker.”
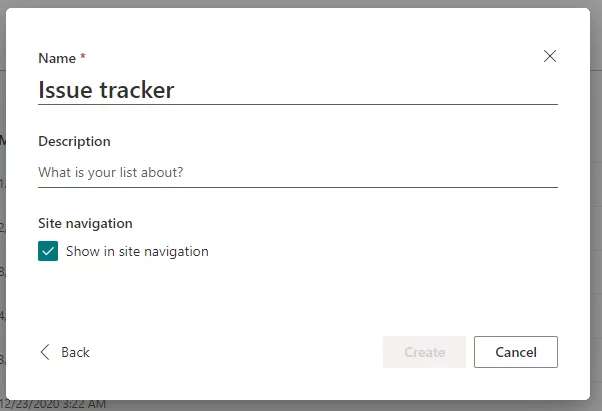
Finish creating the list.
Add New Columns:
After creating the list, we create columns.
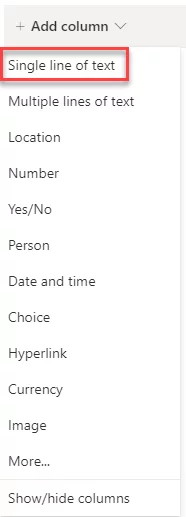
Create the column named “Comments,” using the option “Single Line of Text.”
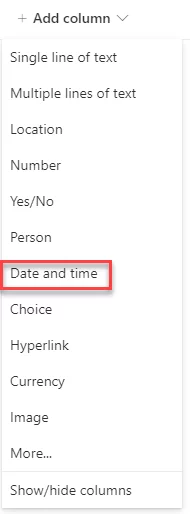
Create a column named “Expected Completion Date” of type “Date and Time.”
Elevate Your SharePoint Lists with Tailored JSON Formatting!
Ready to make your SharePoint Lists more dynamic and interactive? Let AlphaBOLD's SharePoint Services apply tailored JSON formatting to optimize your lists.
Add Columns To Separate Sections Using JSON Formatting
Now, we have created a list. Open the list and click on “New.”
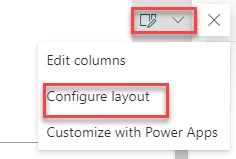
At the extreme top right corner, click on the icon and choose “Configure Layout.”
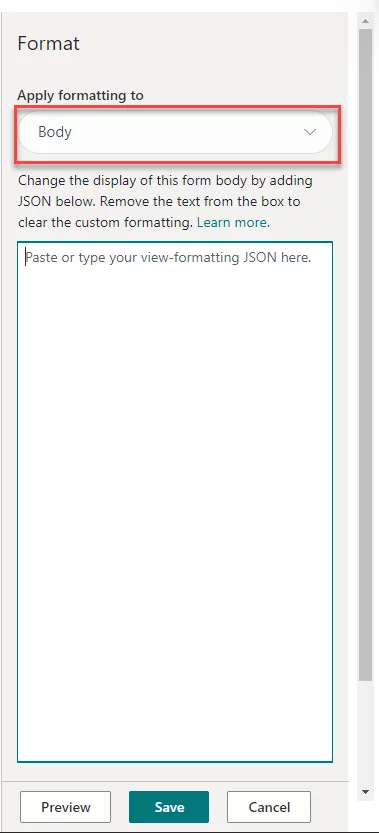
A popup will open, as shown below. From the dropdown, choose “Body.”
Paste this JSON in the body!
{
“sections”: [
{
“displayname”: “Issue”,
“fields”: [
“Issue”
]
},
{
“displayname”: “Details”,
“fields”: [
“Priority”,
“Assigned to”,
“Date reported”
]
},
{
“displayname”: “Other”,
“fields”: [
“Status”,
“Issue description”,
“Days old”,
“Issue source”,
“Images”,
“Issue logged by”,
“Comments”,
“Expected Completion Date”
]
}
]
}
This JSON will separate the columns into three sections.
If you look carefully at JSON, you will come to know that the “displayname ” shows the name of the section; for instance, “displayname”: “Other.” It will create the section with the heading “Other,” as shown in the picture.
“fields“: [
“Status”,
“Issue description”,
“Days old”,
“Issue source”,
“Images”,
“Issue logged by”,
“Comments”,
“Expected Completion Date”
]
The “fields” will show the columns to be entered in the section.
As we can see in the picture below, there are three sections.
These pictures correspond to the JSON formatting that we applied earlier.
Maximize User Engagement with Custom JSON Formatting for SharePoint Lists!
Looking to boost user engagement on SharePoint? Our SharePoint Services can help apply custom JSON formatting to your lists, making them more visually appealing and functional. Elevate your SharePoint experience – Get in touch with us!
In PowerApps, we can show/hide fields based on the conditions; fortunately, the same can be achieved using JSON formatting. To show/hide fields, perform the following actions:
Click on “New.”
Click on the option at the top right and choose “Edit Columns,” as shown in the picture.
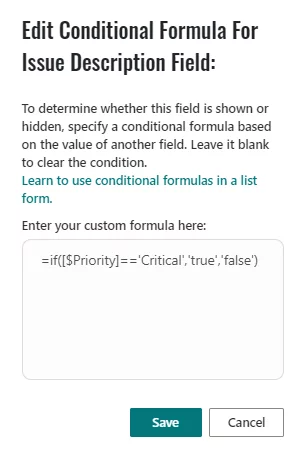
A popup will appear showing the fields. Click on the three dots of any field and choose “Edit Conditional Formula.”
For this example, we have chosen the “Issue Description Field.”
Type this in the popup:
=if([$Priority]==’Critical’,’true’,’false’)
The condition that we have written translates as follows.
If the field “Priority” has a value equal to “Critical,” then show the “Issue Description” field; otherwise, do not show.
Let us show another example.
Open the “Edit Conditional Formula” for “Expected Completion Date” and type this.
If the field “Priority” has a value equal to “Critical” or “High,” then show the “Expected Completion Date “field; otherwise, do not show.
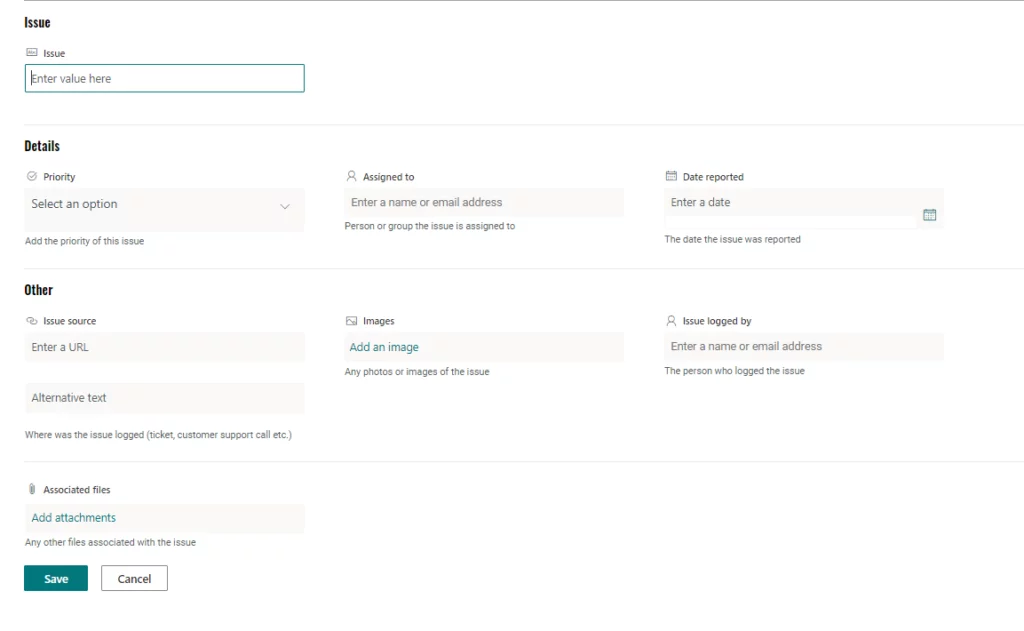
As you can see in the picture below, the fields “Expected Completion Date” and “Issue Description” are not showing as the priority is set as empty.
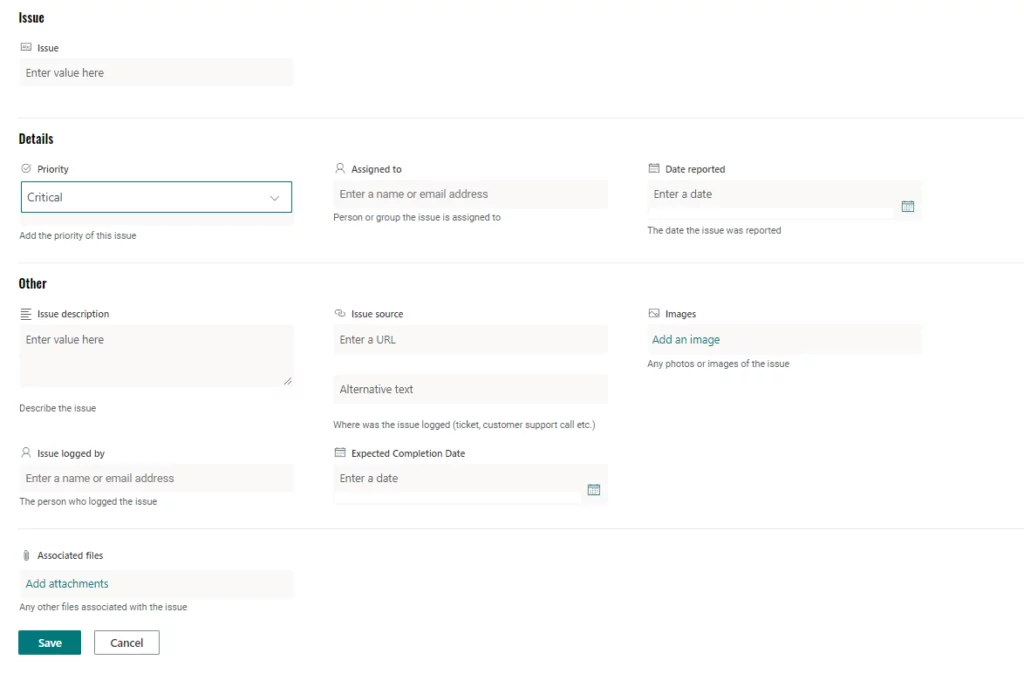
If we enter the priority as critical, then the fields of “Issue Description” and “Expected Completion Date” become visible, as shown in the picture below.